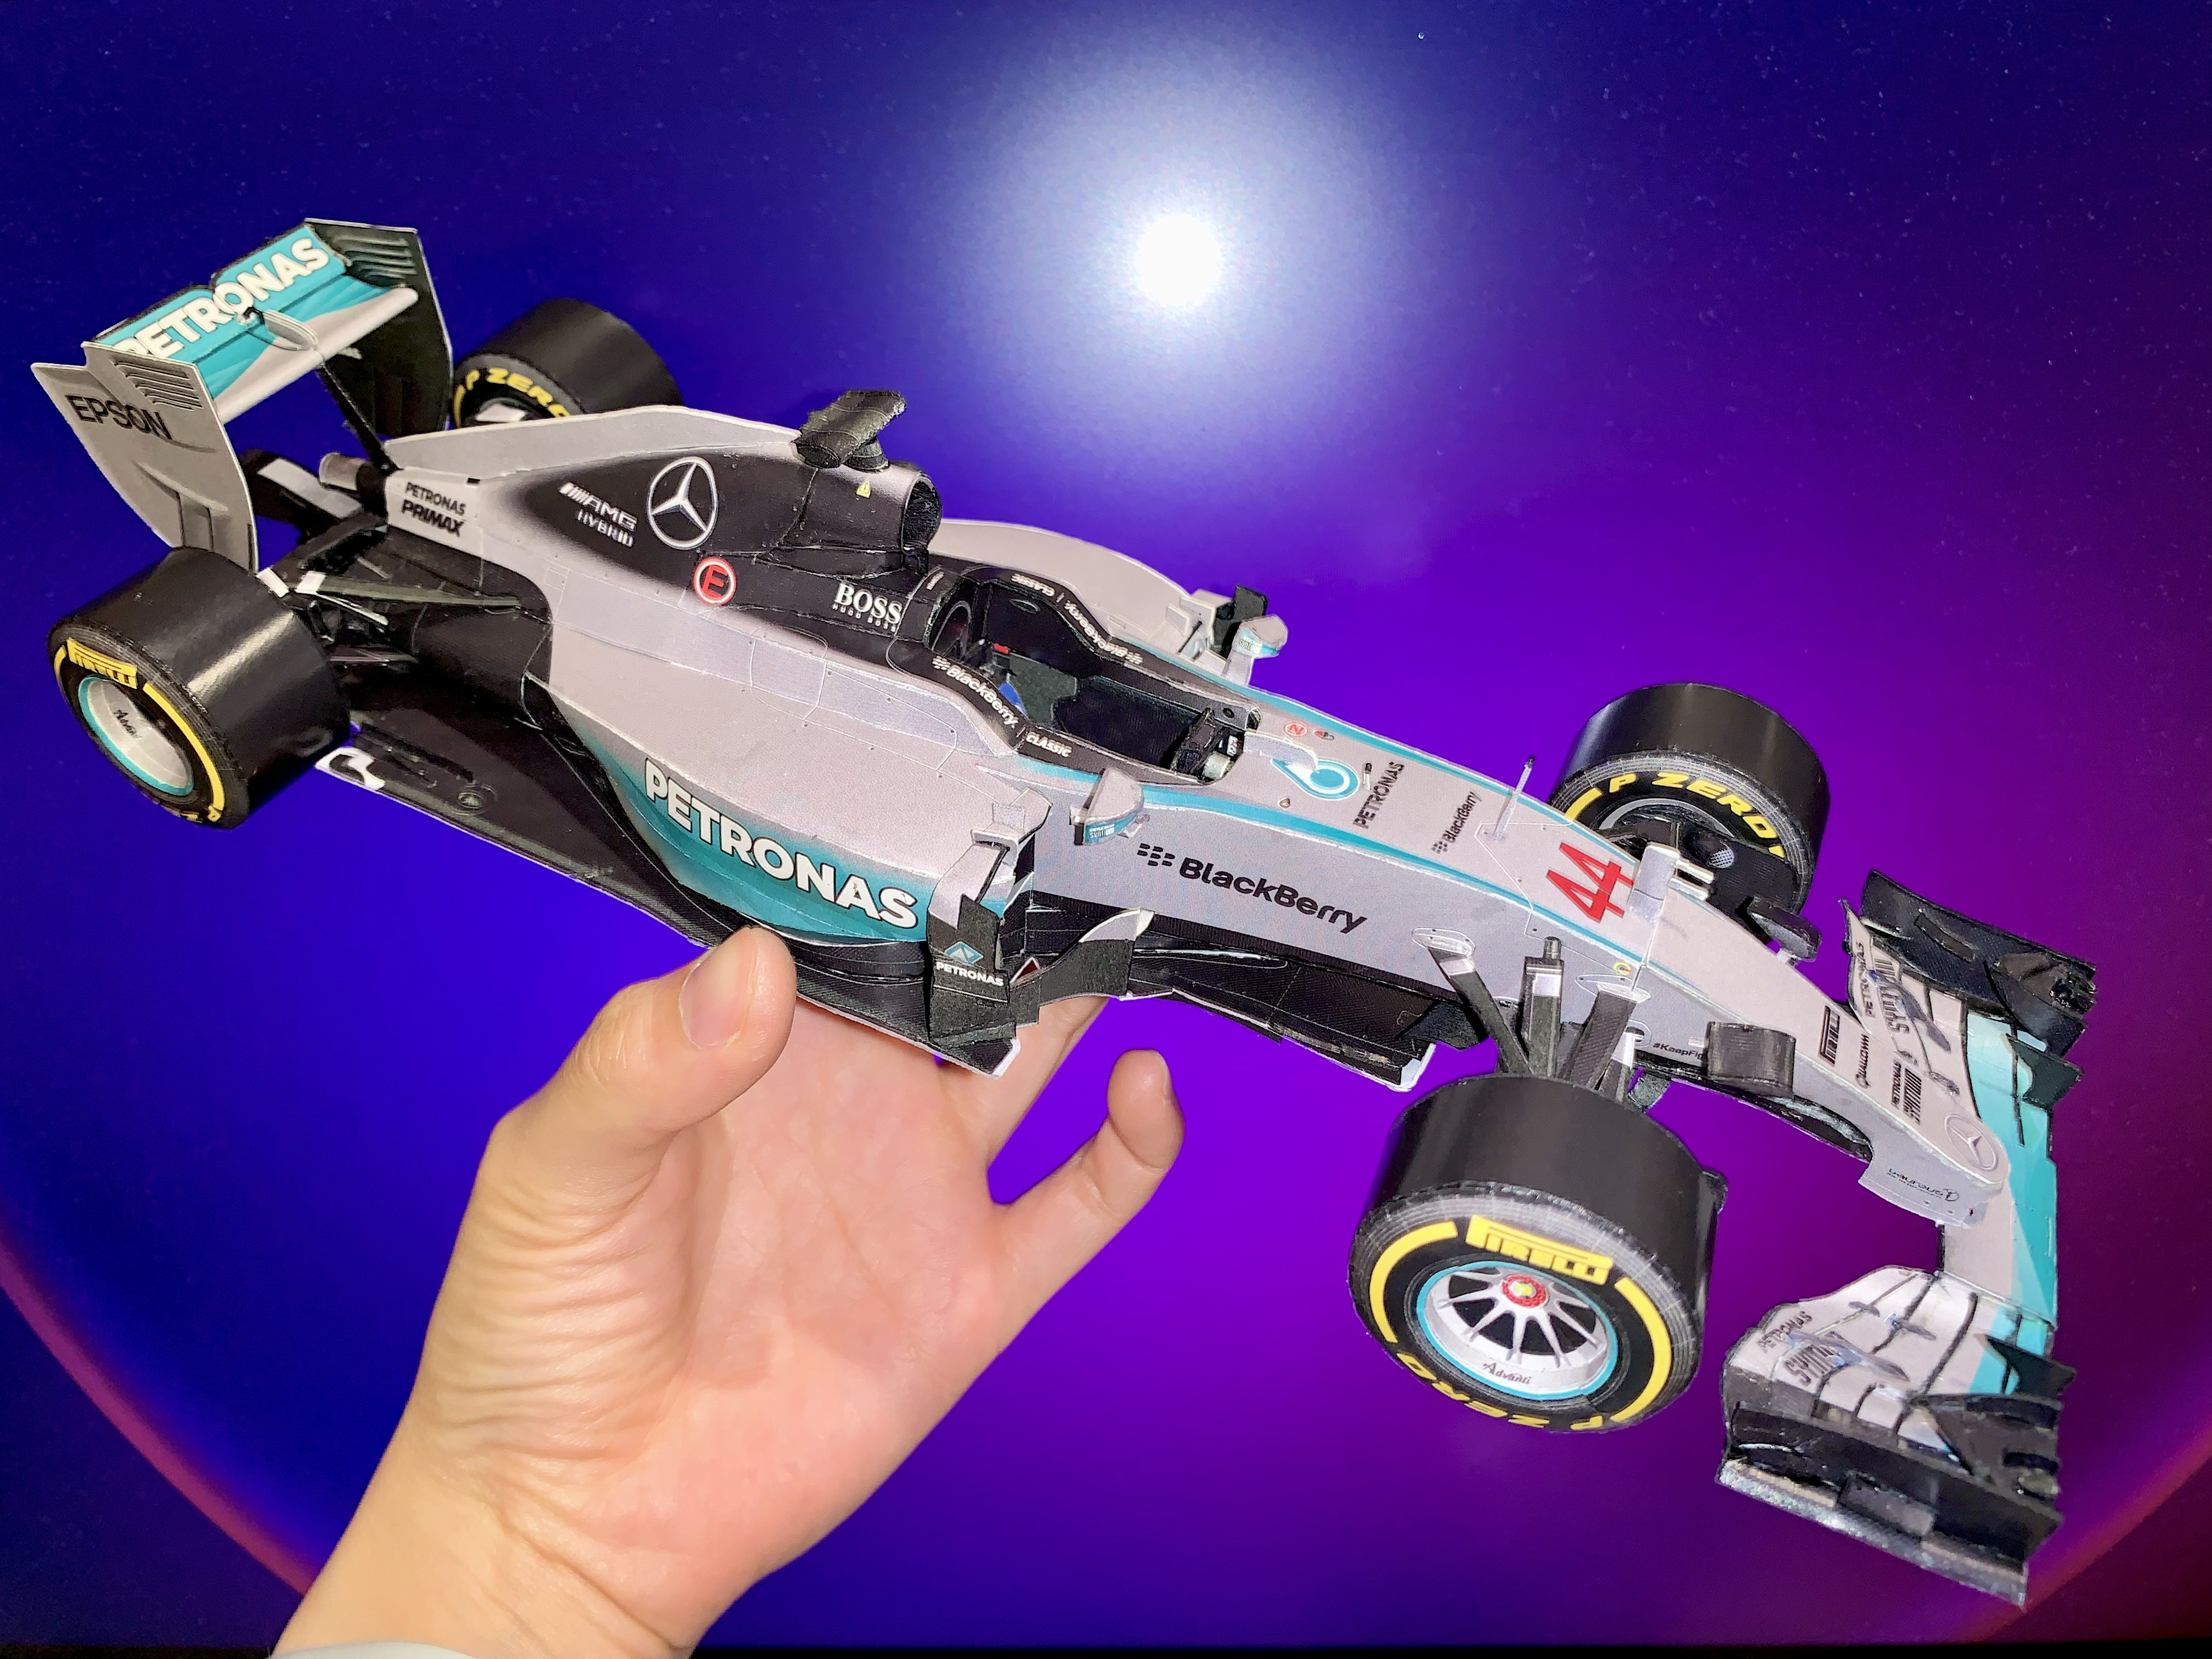
Mercedes W06 Papercraft Model
A 1:18 scale papercraft model of the Mercedes F1 W06 race car.
What is the Mercedes W06
The Mercedes F1 W06 Hybrid is a Mercedes-Benz Formula One racing car that made its debut at the 2015 Australian Grand Prix. The 6 in W06 represents the sixth Formula One car that Mercedes had constructed since 2010. Notably, this car was driven by Nico Rosberg and World Champion Lewis Hamilton. After participating in 18 rounds of Grand Prix racing, it made it’s final appearance at the 2015 Abu Dhabi Grand Prix before retirement.
What is Papercraft
Papercraft defines a collection of crafts using paper as its primary medium for the creation of 2 or 3 dimensional figures. Usually, a papercraft artist will use a combination of folding, curving, cutting, gluing, and layering techniques to achieve a desired form. A subset of papercraft is paper modelling, which involves making scale models from pieces of paper. This typically involves printing out a template on cardstock, cutting out pieces, folding, and gluing them together to form a model.
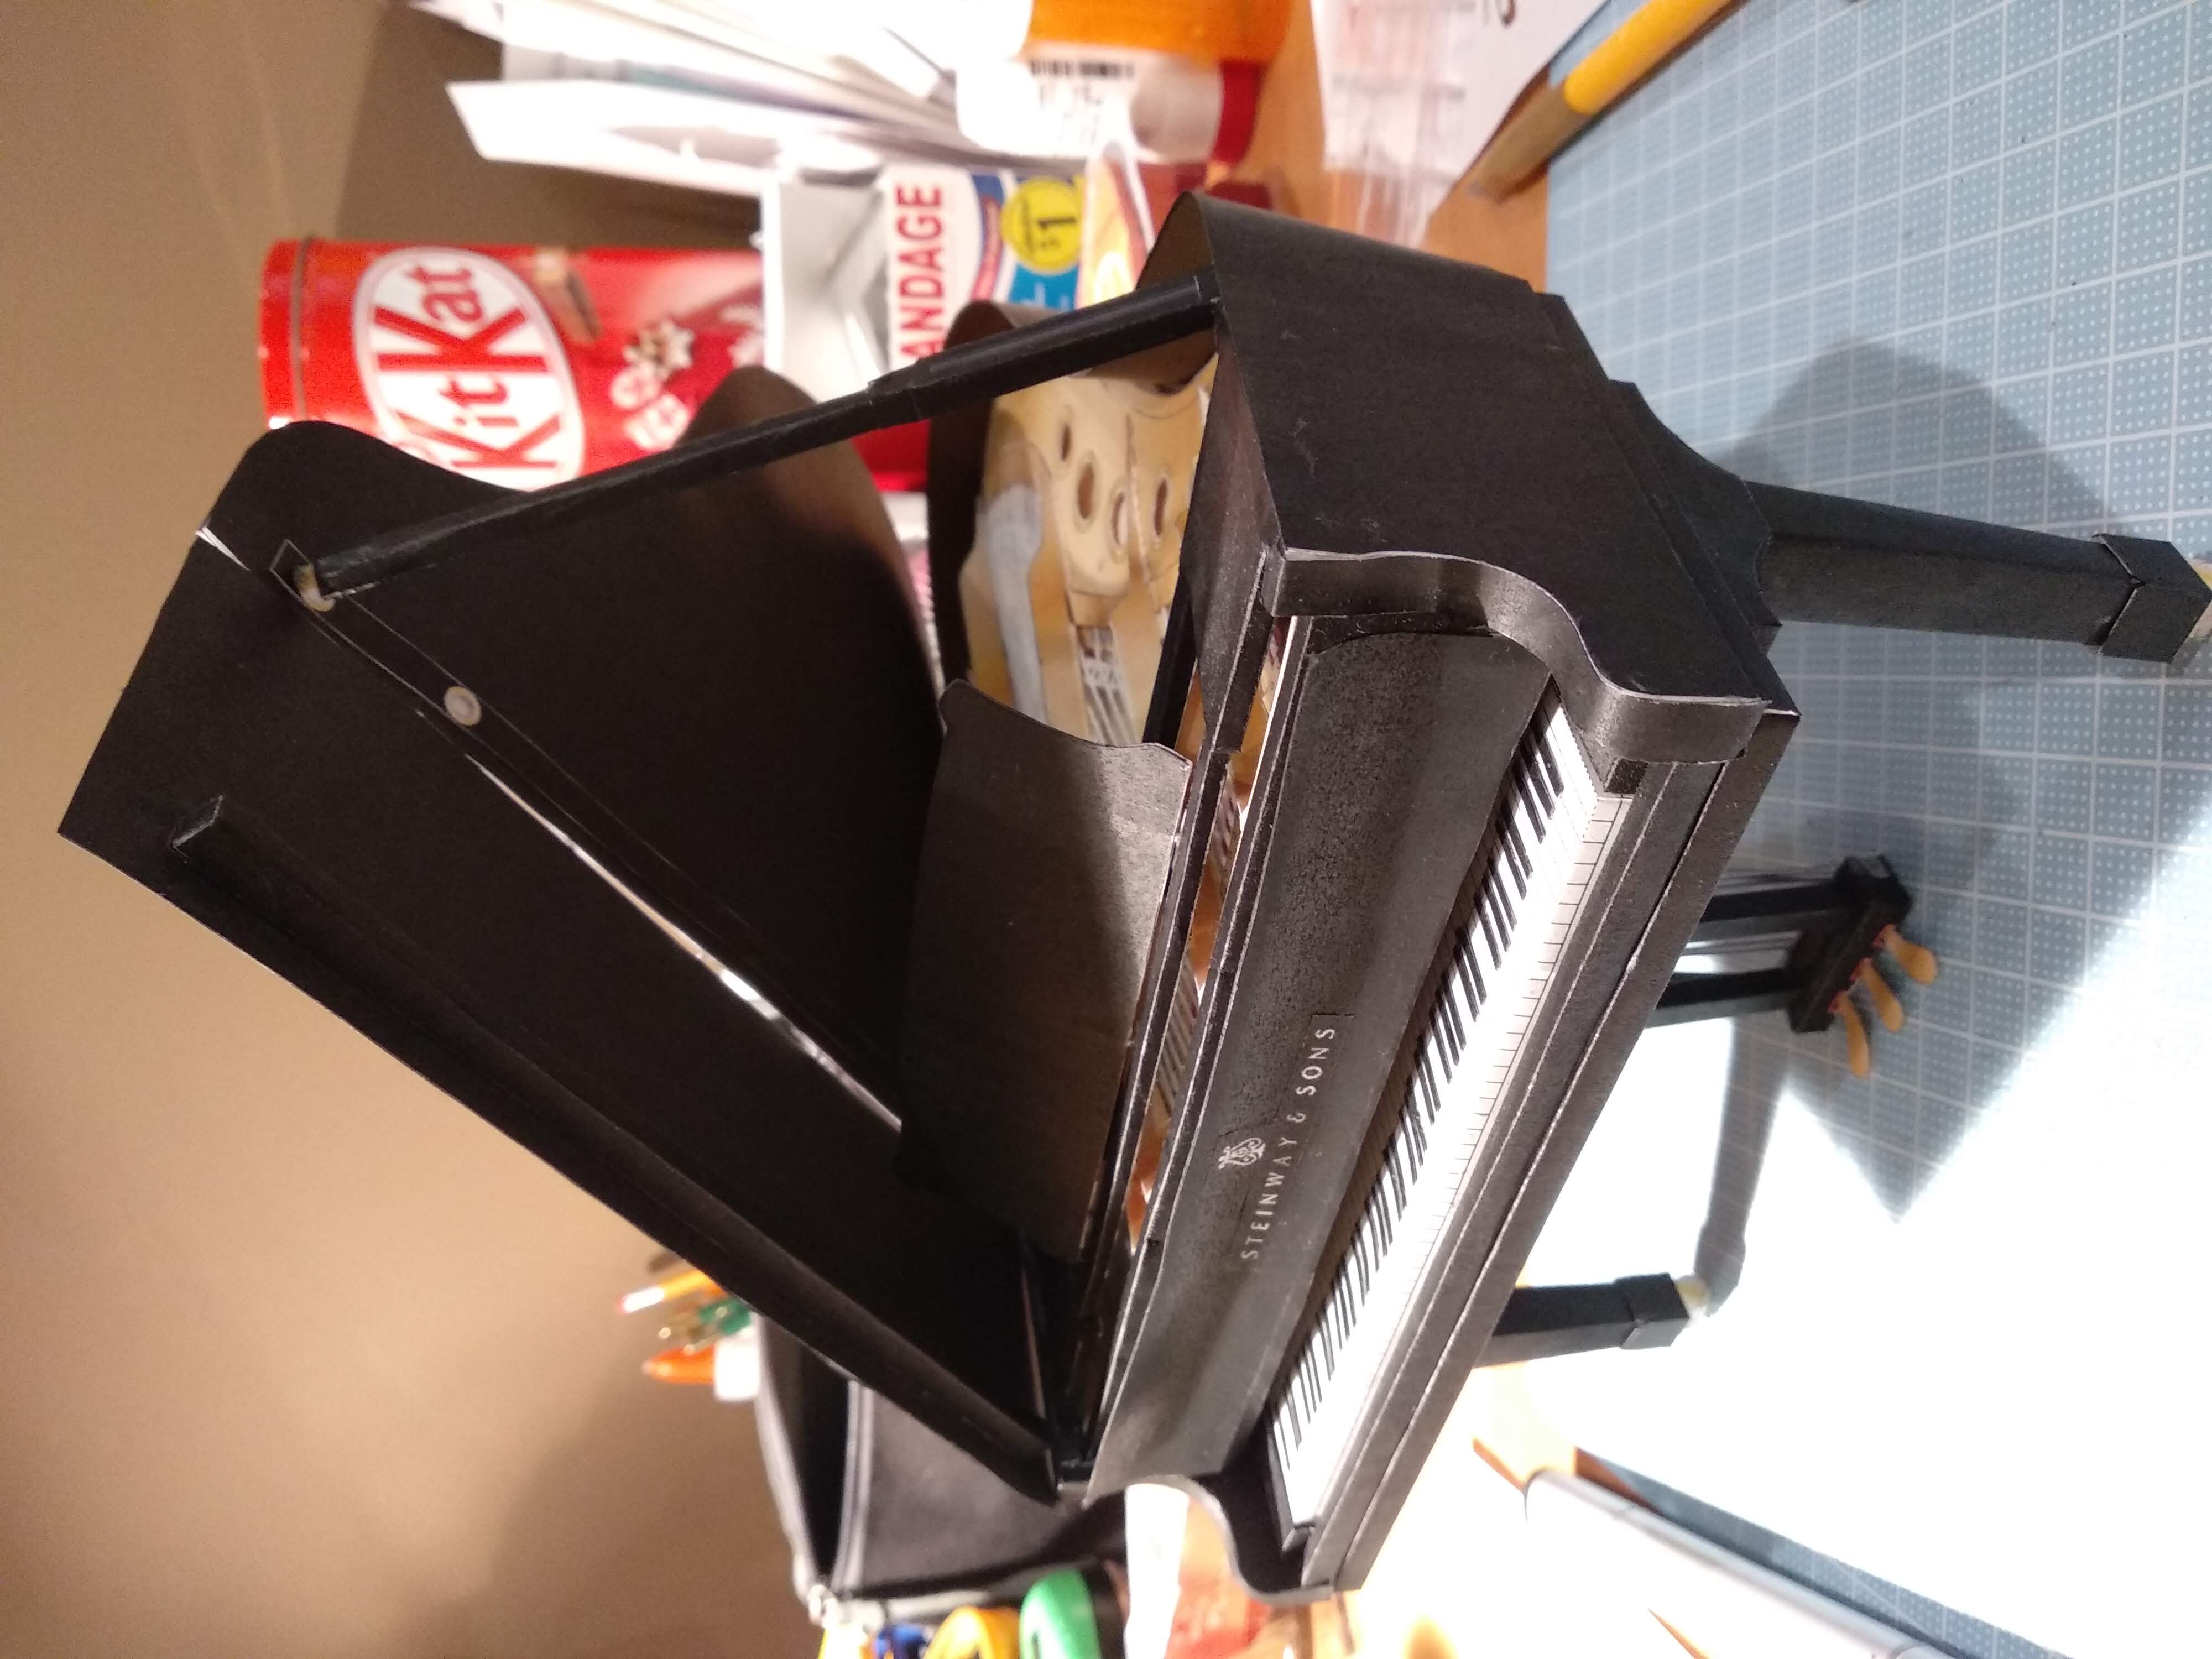
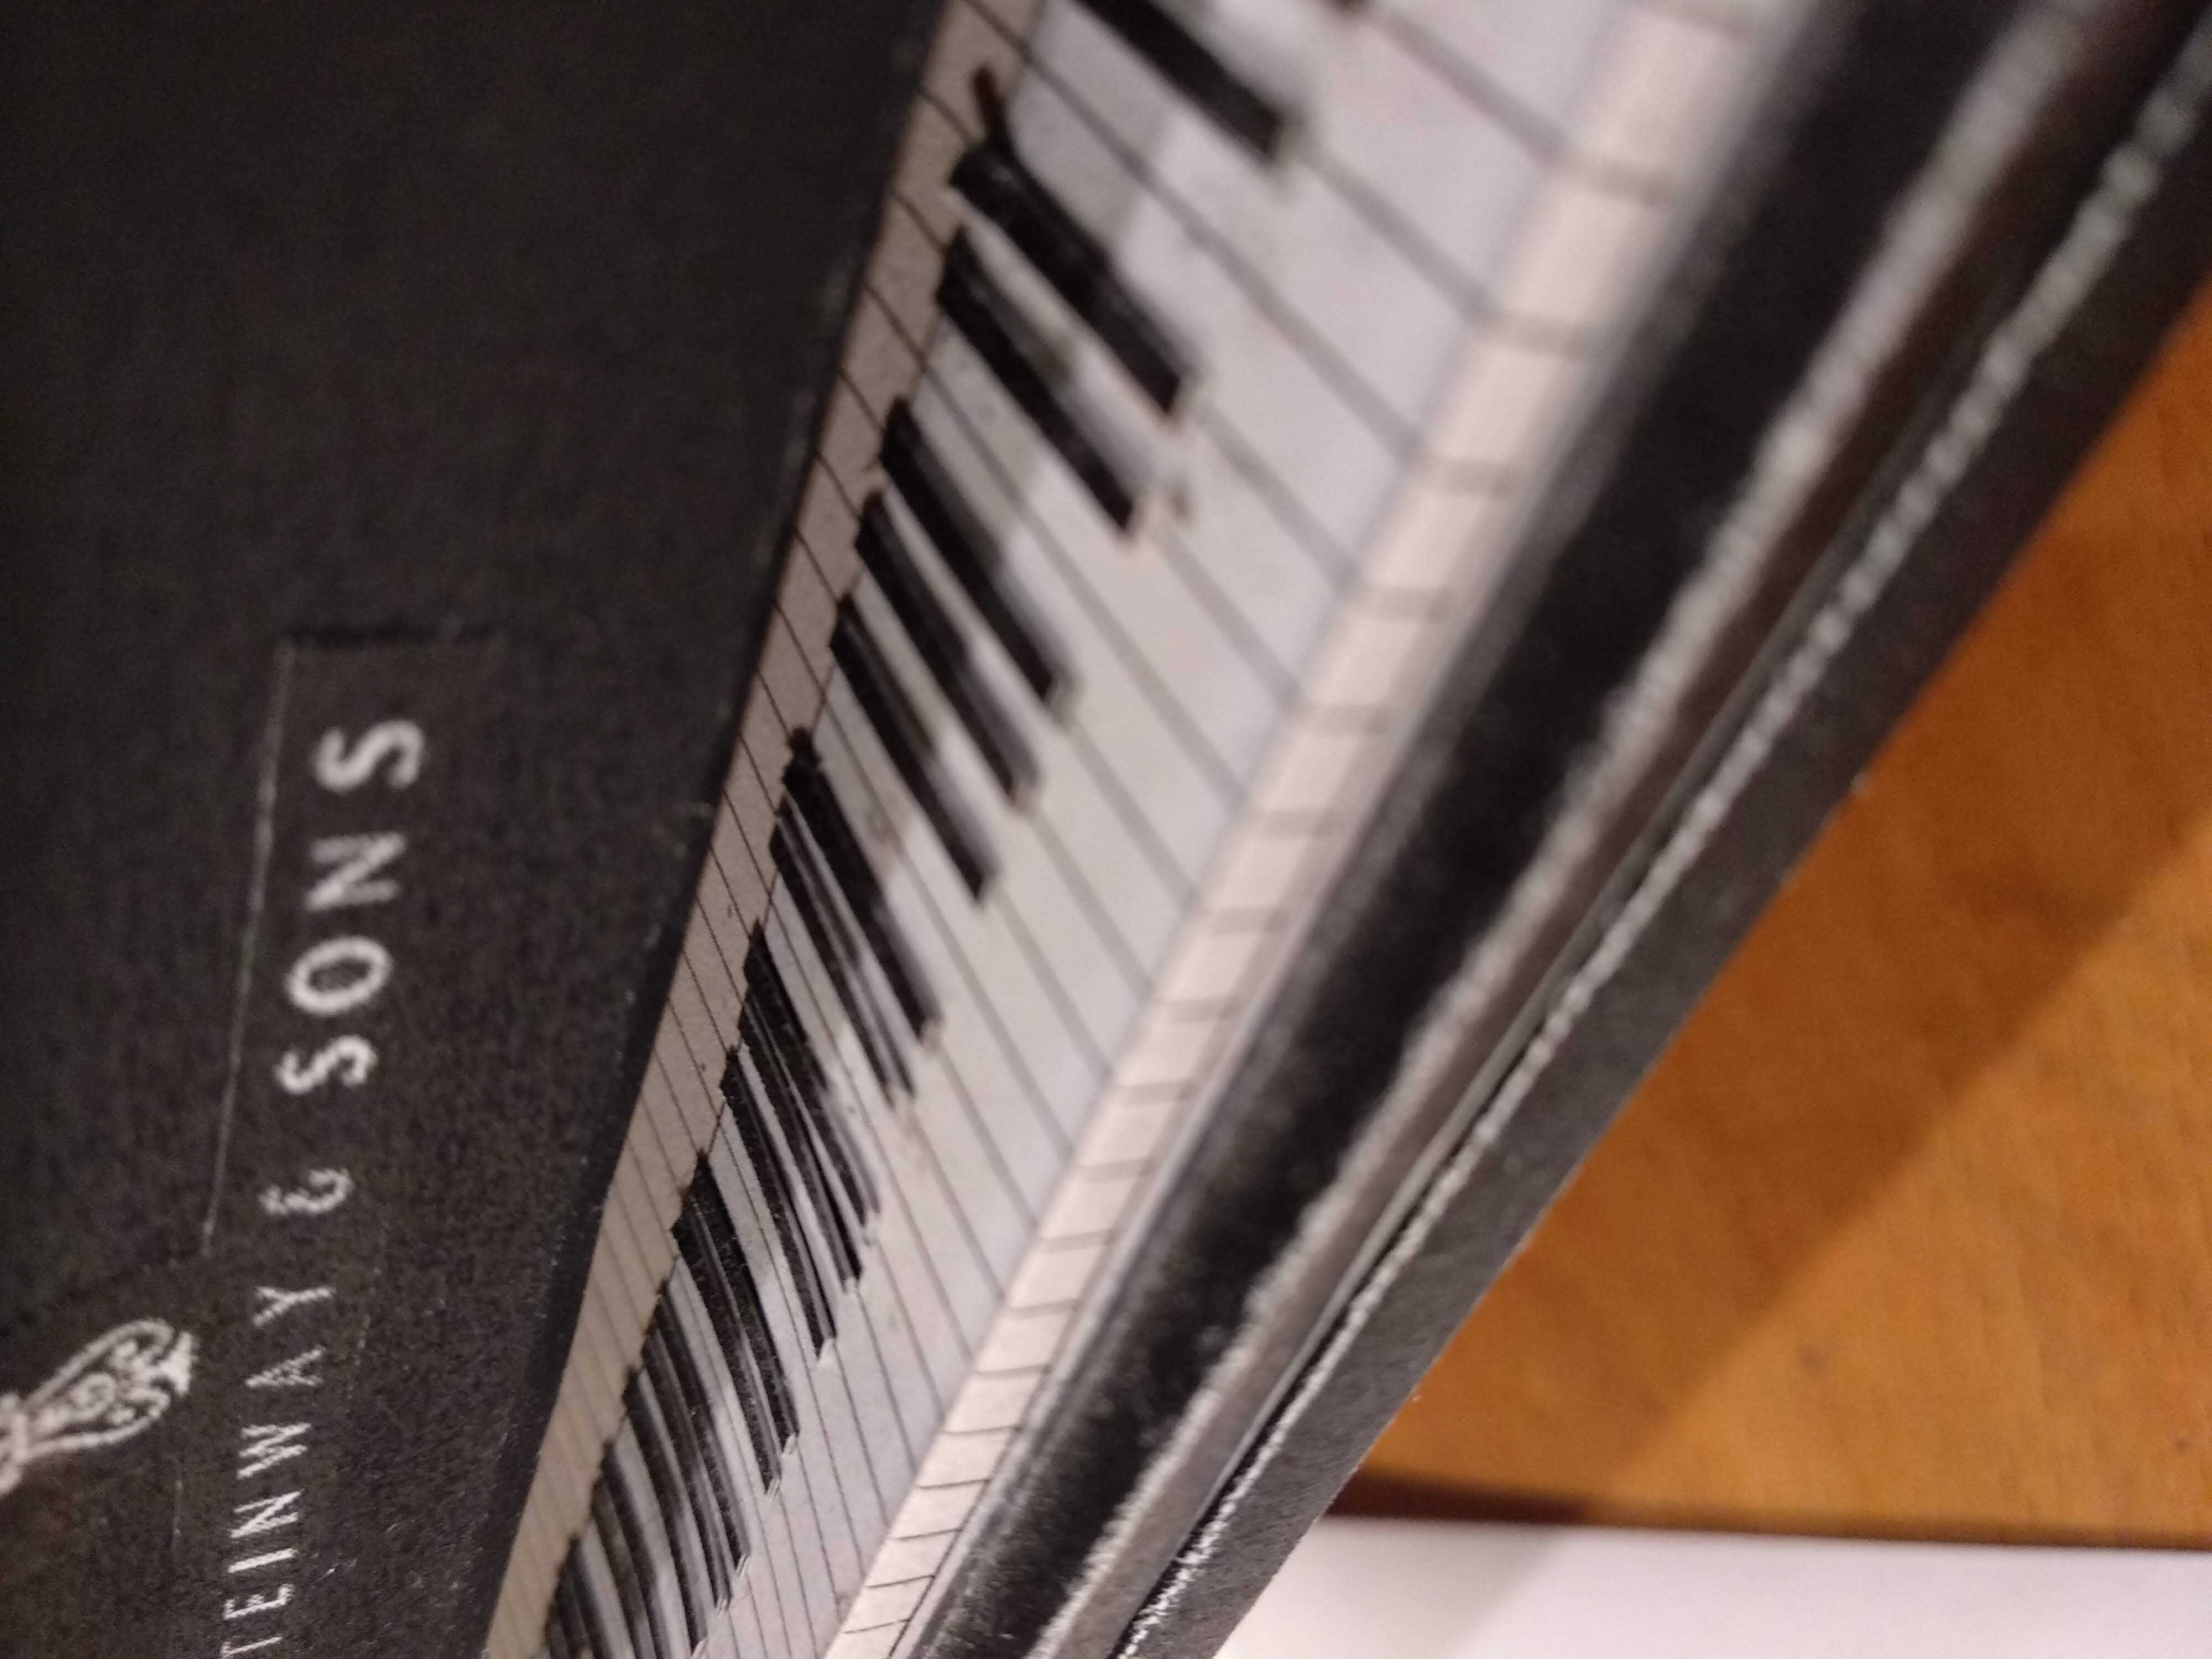
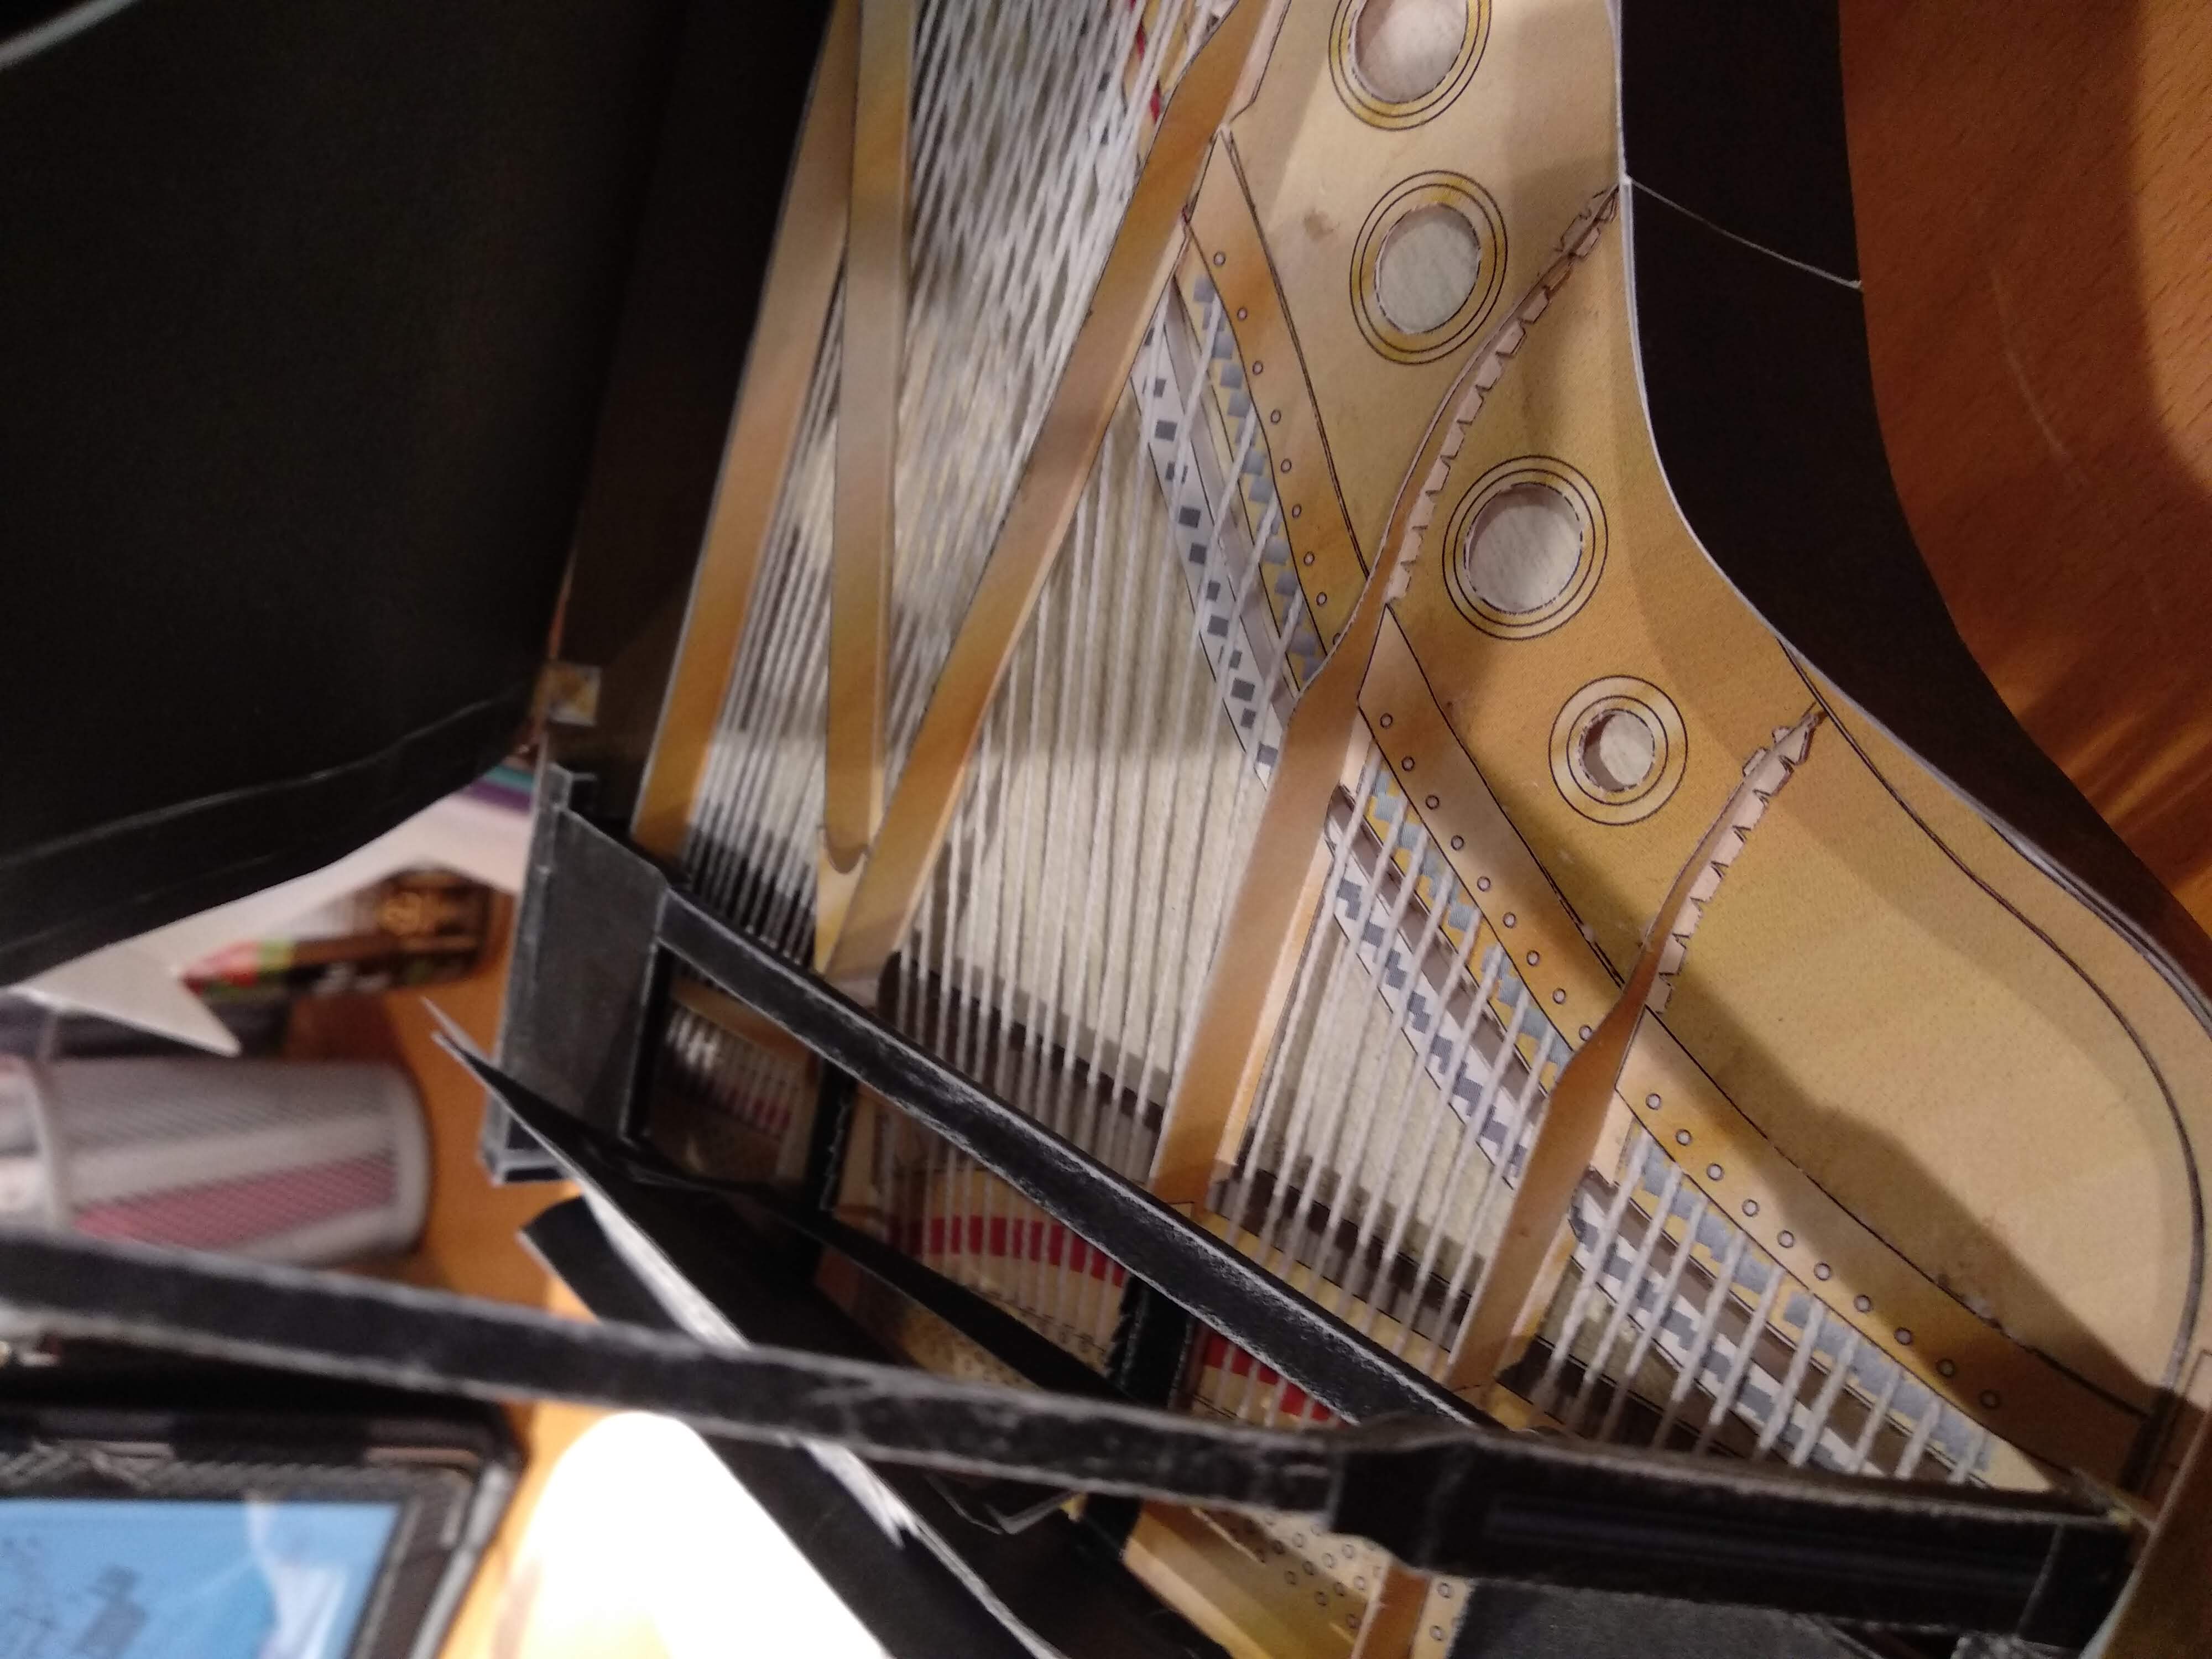
I first got into the art of papercraft through my love of origami. After making a simple mini origami piano to put on top of my life size piano, I wanted to see the extents of how realistic one could make paper models. This was purely so I could riddle the top of my piano (and my piano teacher’s) with mini paper pianos. After discovering papercraft, I was hooked.
The W06 Papercraft Model
The idea of making a papercraft formula one car arose from a deserate need for a birthday gift for my partner. Ironically, he was an avid fan of the sport being a civil engineering student while I, a mechanical engineering student at the time, had absolutely no understanding of cars. Naturally, I decided studying paper cars would be a safe start. I started by researching various makers of F1 papercraft models and discovered Hitoshi Shinozaki. Epson, an official sponsor of the Mercedes AMG Petronas F1 team, had tasked their master papercraft designer, Shinozaki, to design a beautiful rendition of the W06 car. Known for his comprehensive and detailed instructions, I was immediately drawn to the model.
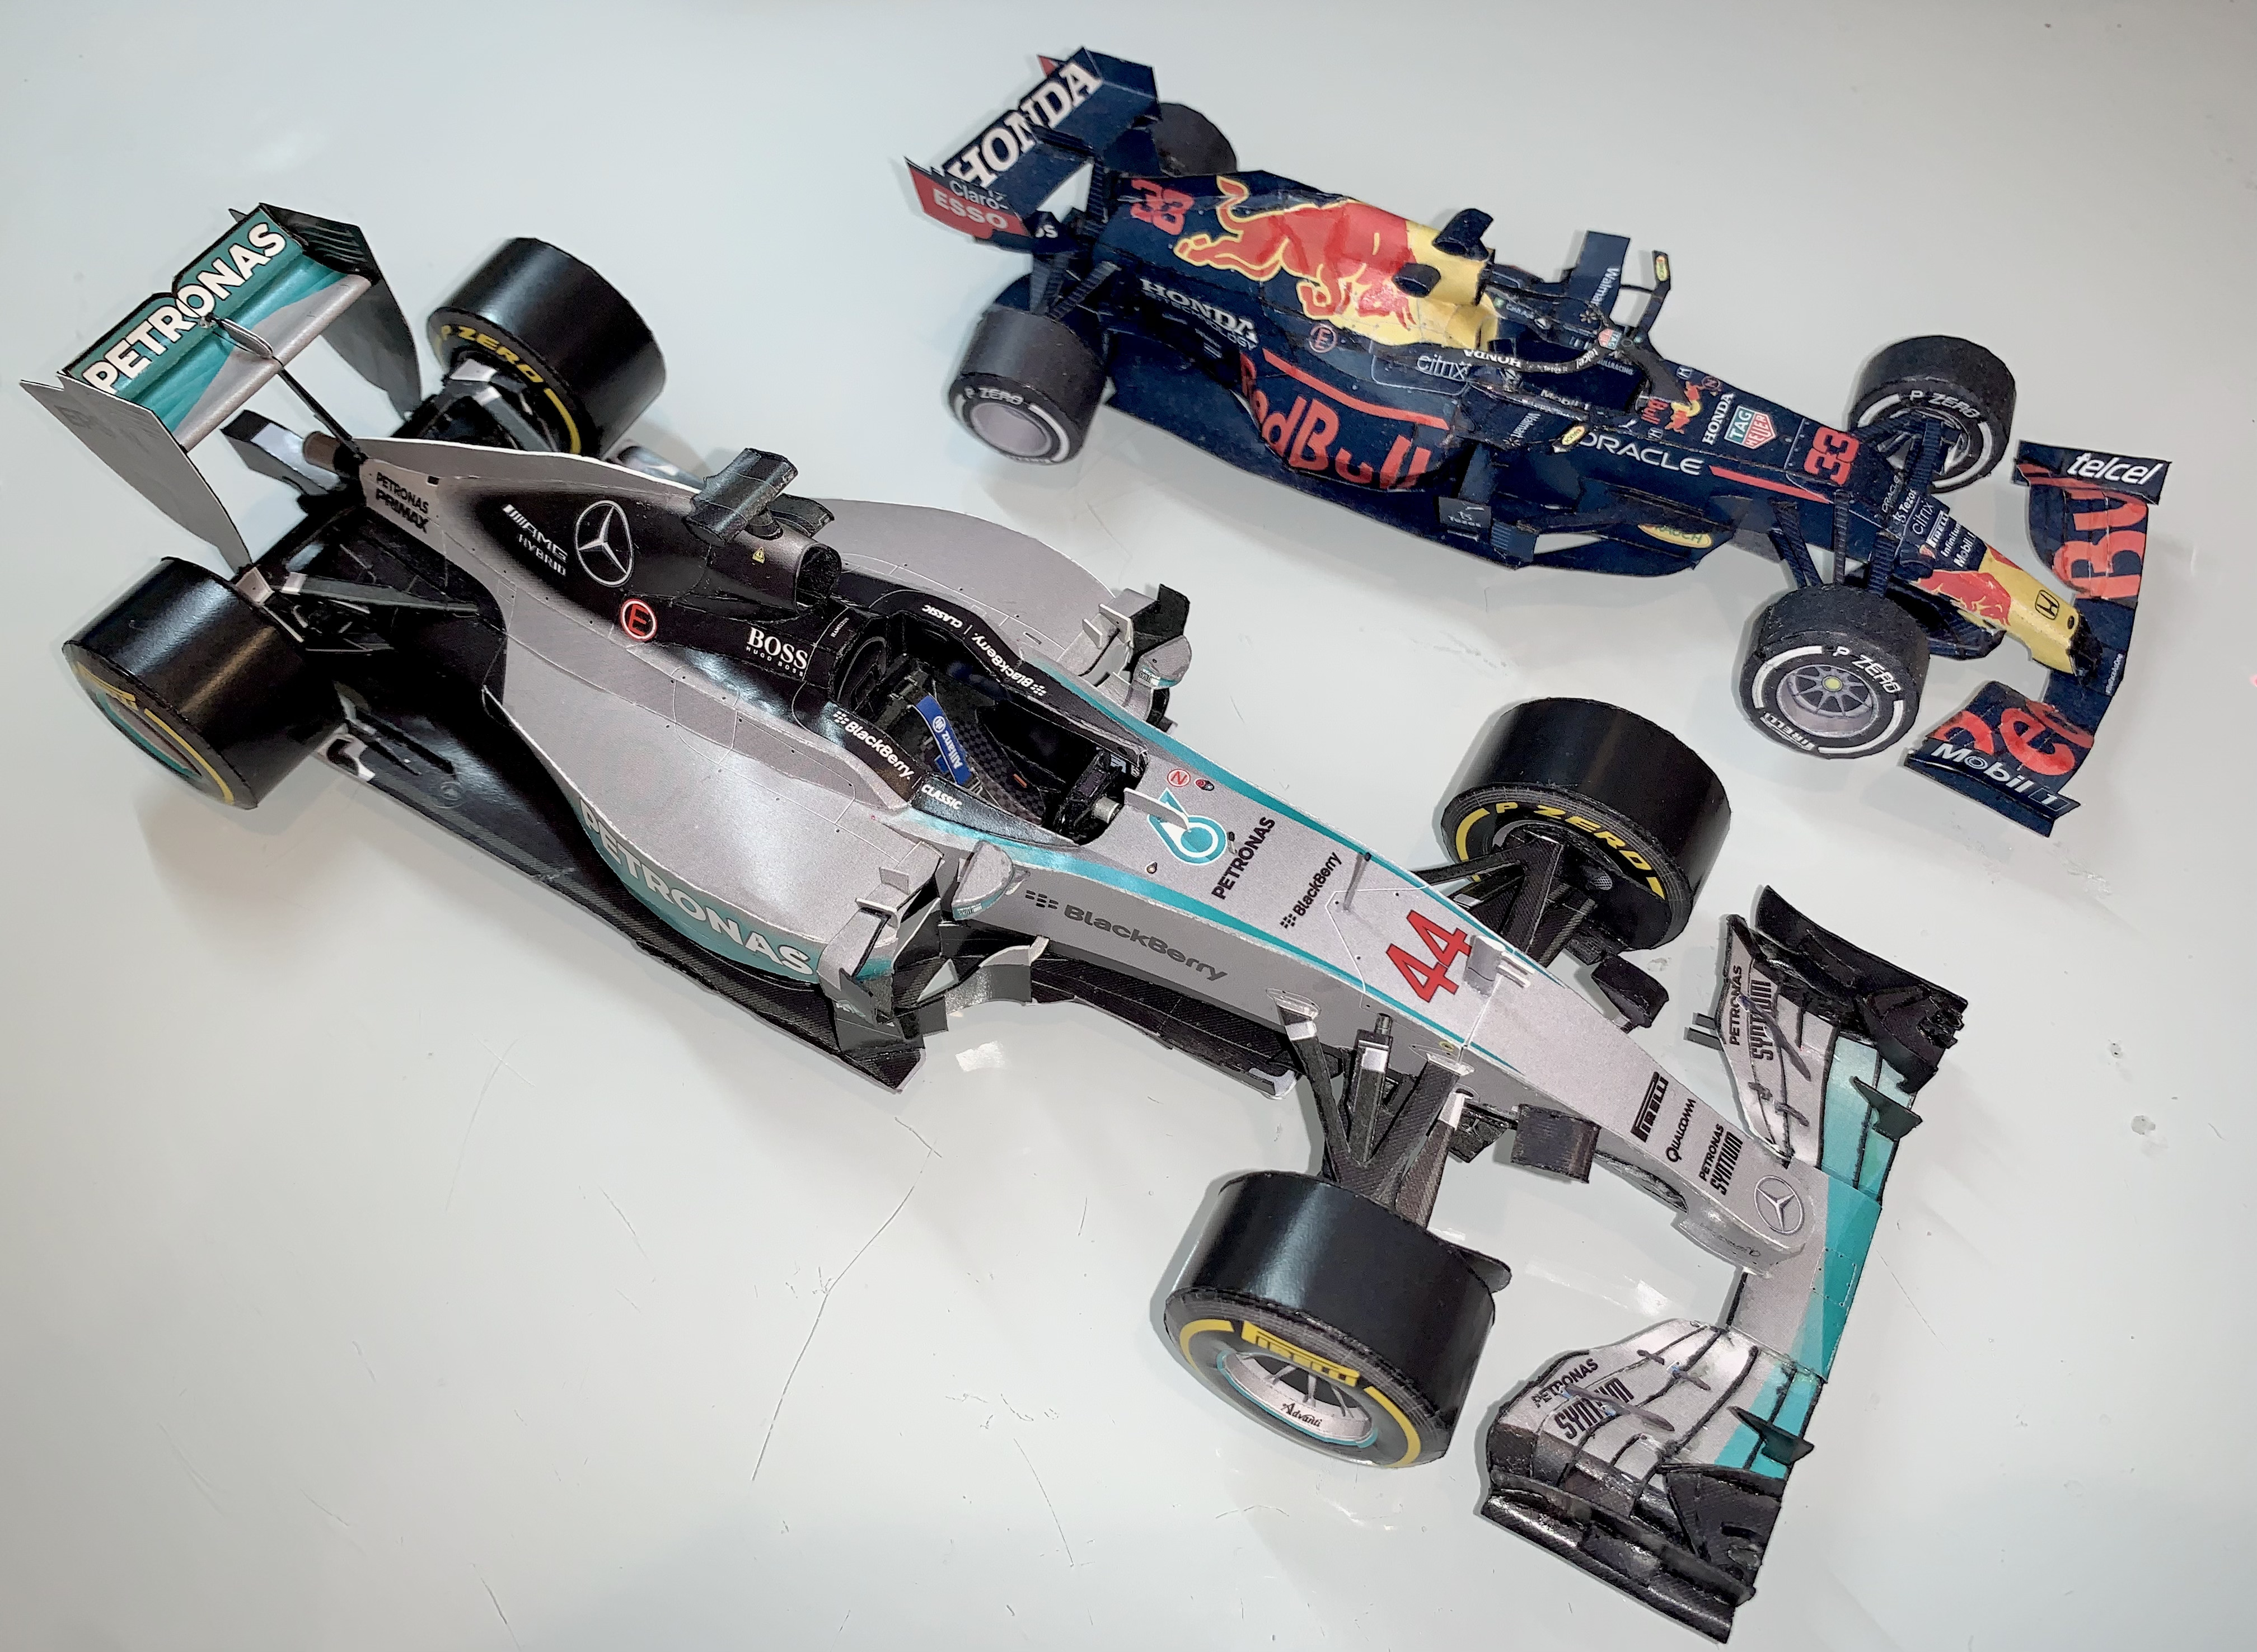
Since I knew nothing about F1 cars, I decided to practice by making a Red Bull Racing RB16B model using tried and true A4 paper and my parents’ 10 year old printer. After scouring the online papercraft forums, I opted to print the W06 template on fancy cardstock paper at my university’s print shop. All I had to do was make the entire model in 3 weeks for my partner’s birthday! Easy right? (spoiler alert: nope, I was 3 months late).
Here are some fun facts about the process:
- This took 56 hours which I tracked on a spreadsheet over the course of 3 months
- I went through 7 hobby knife blades
- To make the model look less paper-like, I used coloured marker to shade in all the white edges of the paper pieces
- I superglued my fingers together only ONCE and had to peel them apart like chopsticks
And here are some fun facts about the model:
- There are tiny paper turning vanes and event a tiny paper thermal camera (which is literally a sliver of paper) on the front wing
- The paper seatbelt has paper buckles
- A single reare brake is made of 11 individual pieces of paper
- There is a working front and rear suspension system
Materials Used
- Hobby knife
- Replacement knife blades
- Scissors
- Cutting mat
- Curling tool (I used a quilling needle. This is also useful for applying glue on small surfaces.)
- Glue (I used Mono Liquid Glue)
- Tweezers (I recommend reverse-acyion tweezers with a curved precision tip)
- Coloured markers for shading in the edges of the pieces
- Small ruler
- Pencil for keeping track of the pieces when cut out
Progress Gallery
Day 1: Nosecone pieces
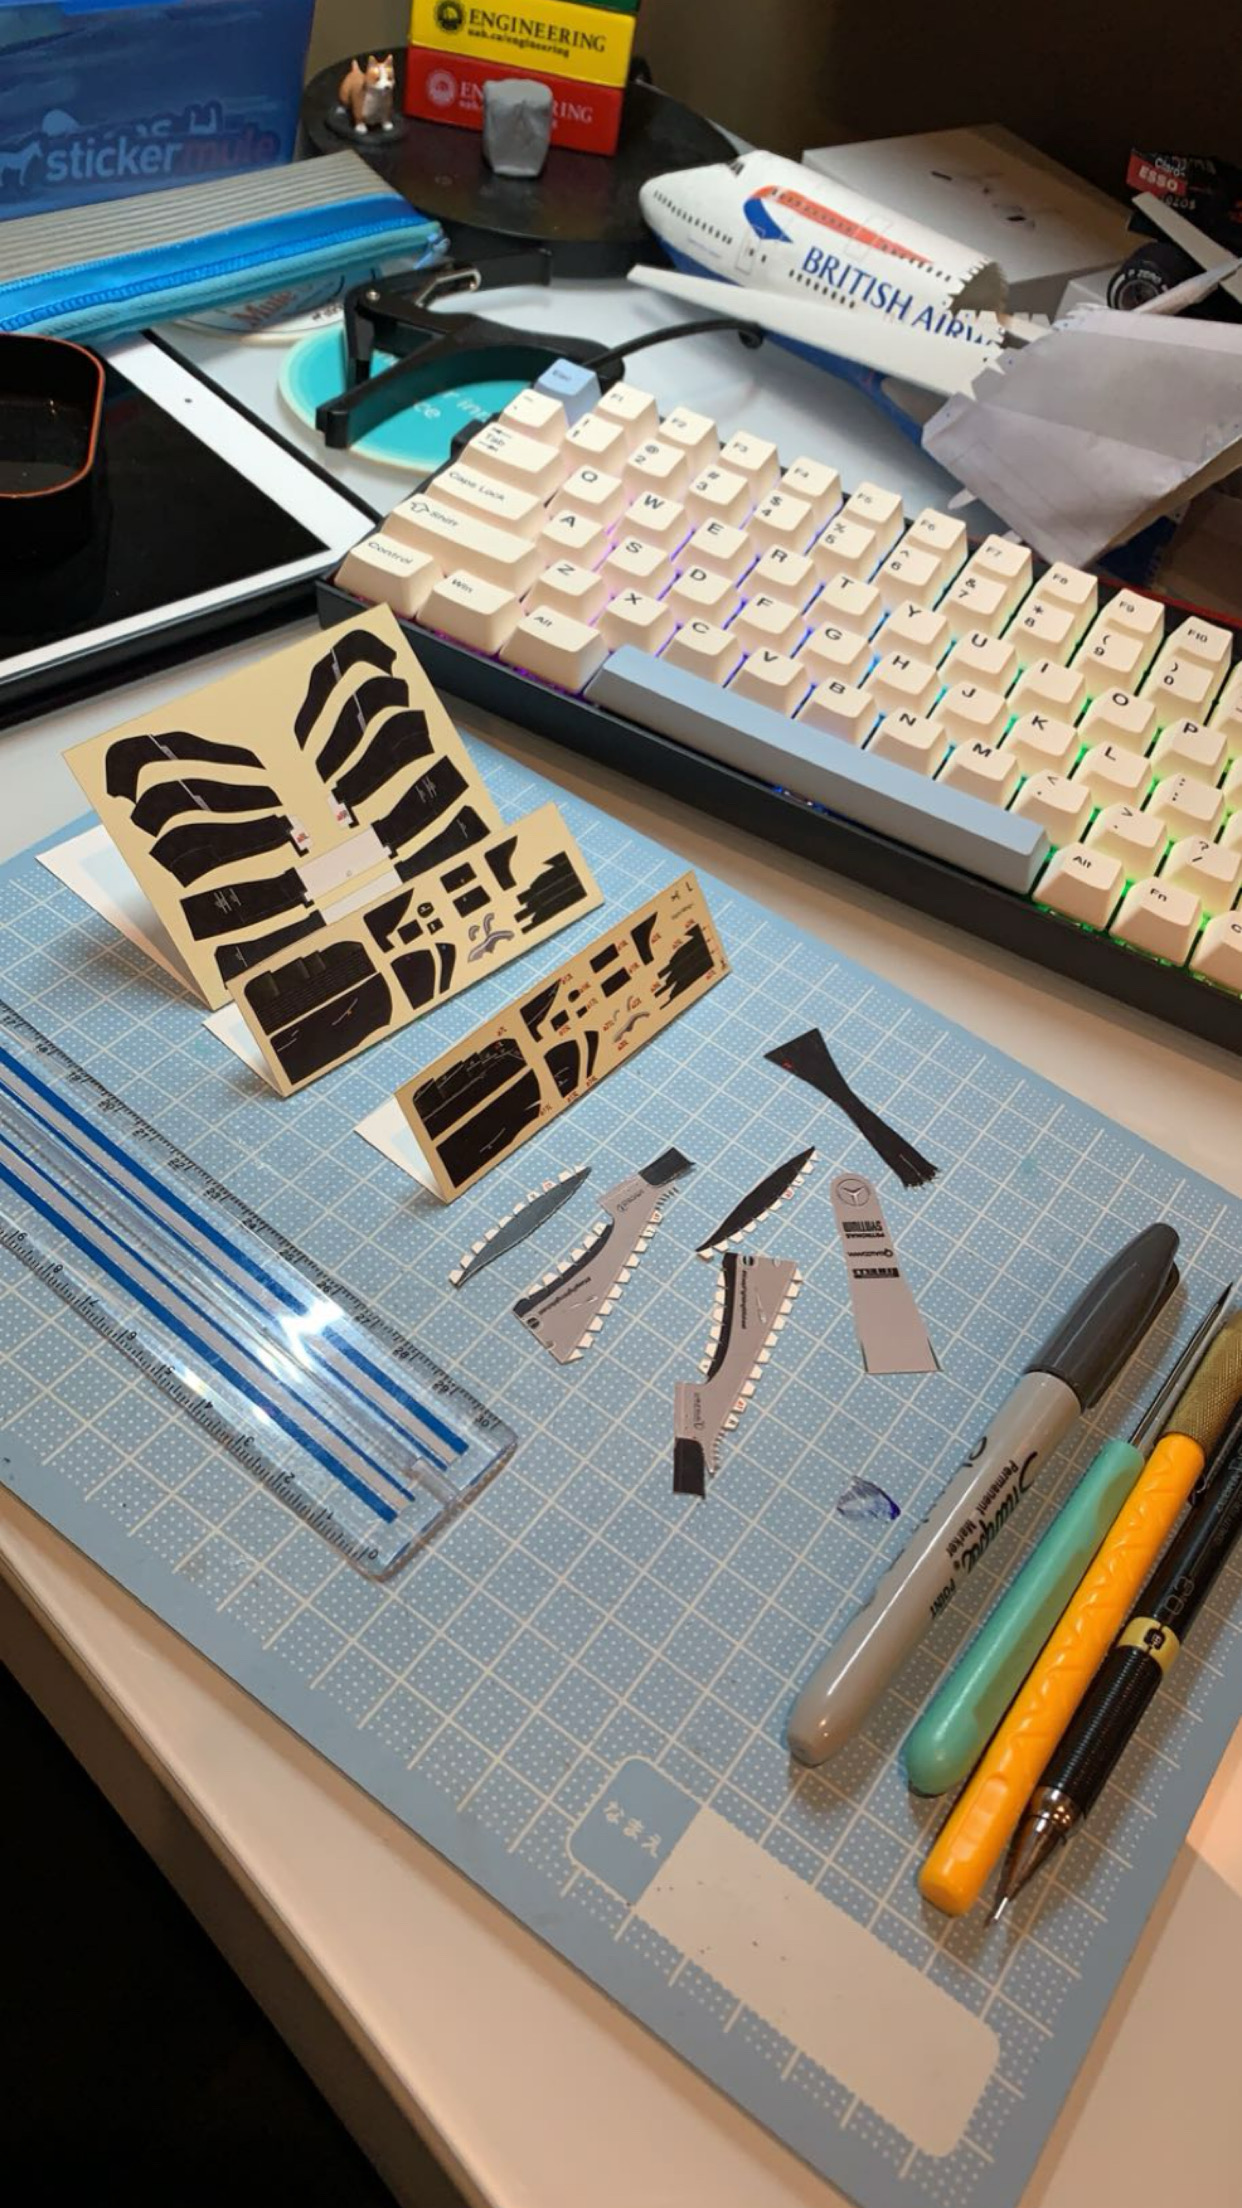
Started off strong by cutting out pieces for the nosecone (you can see my half finished airplane in the back haha)
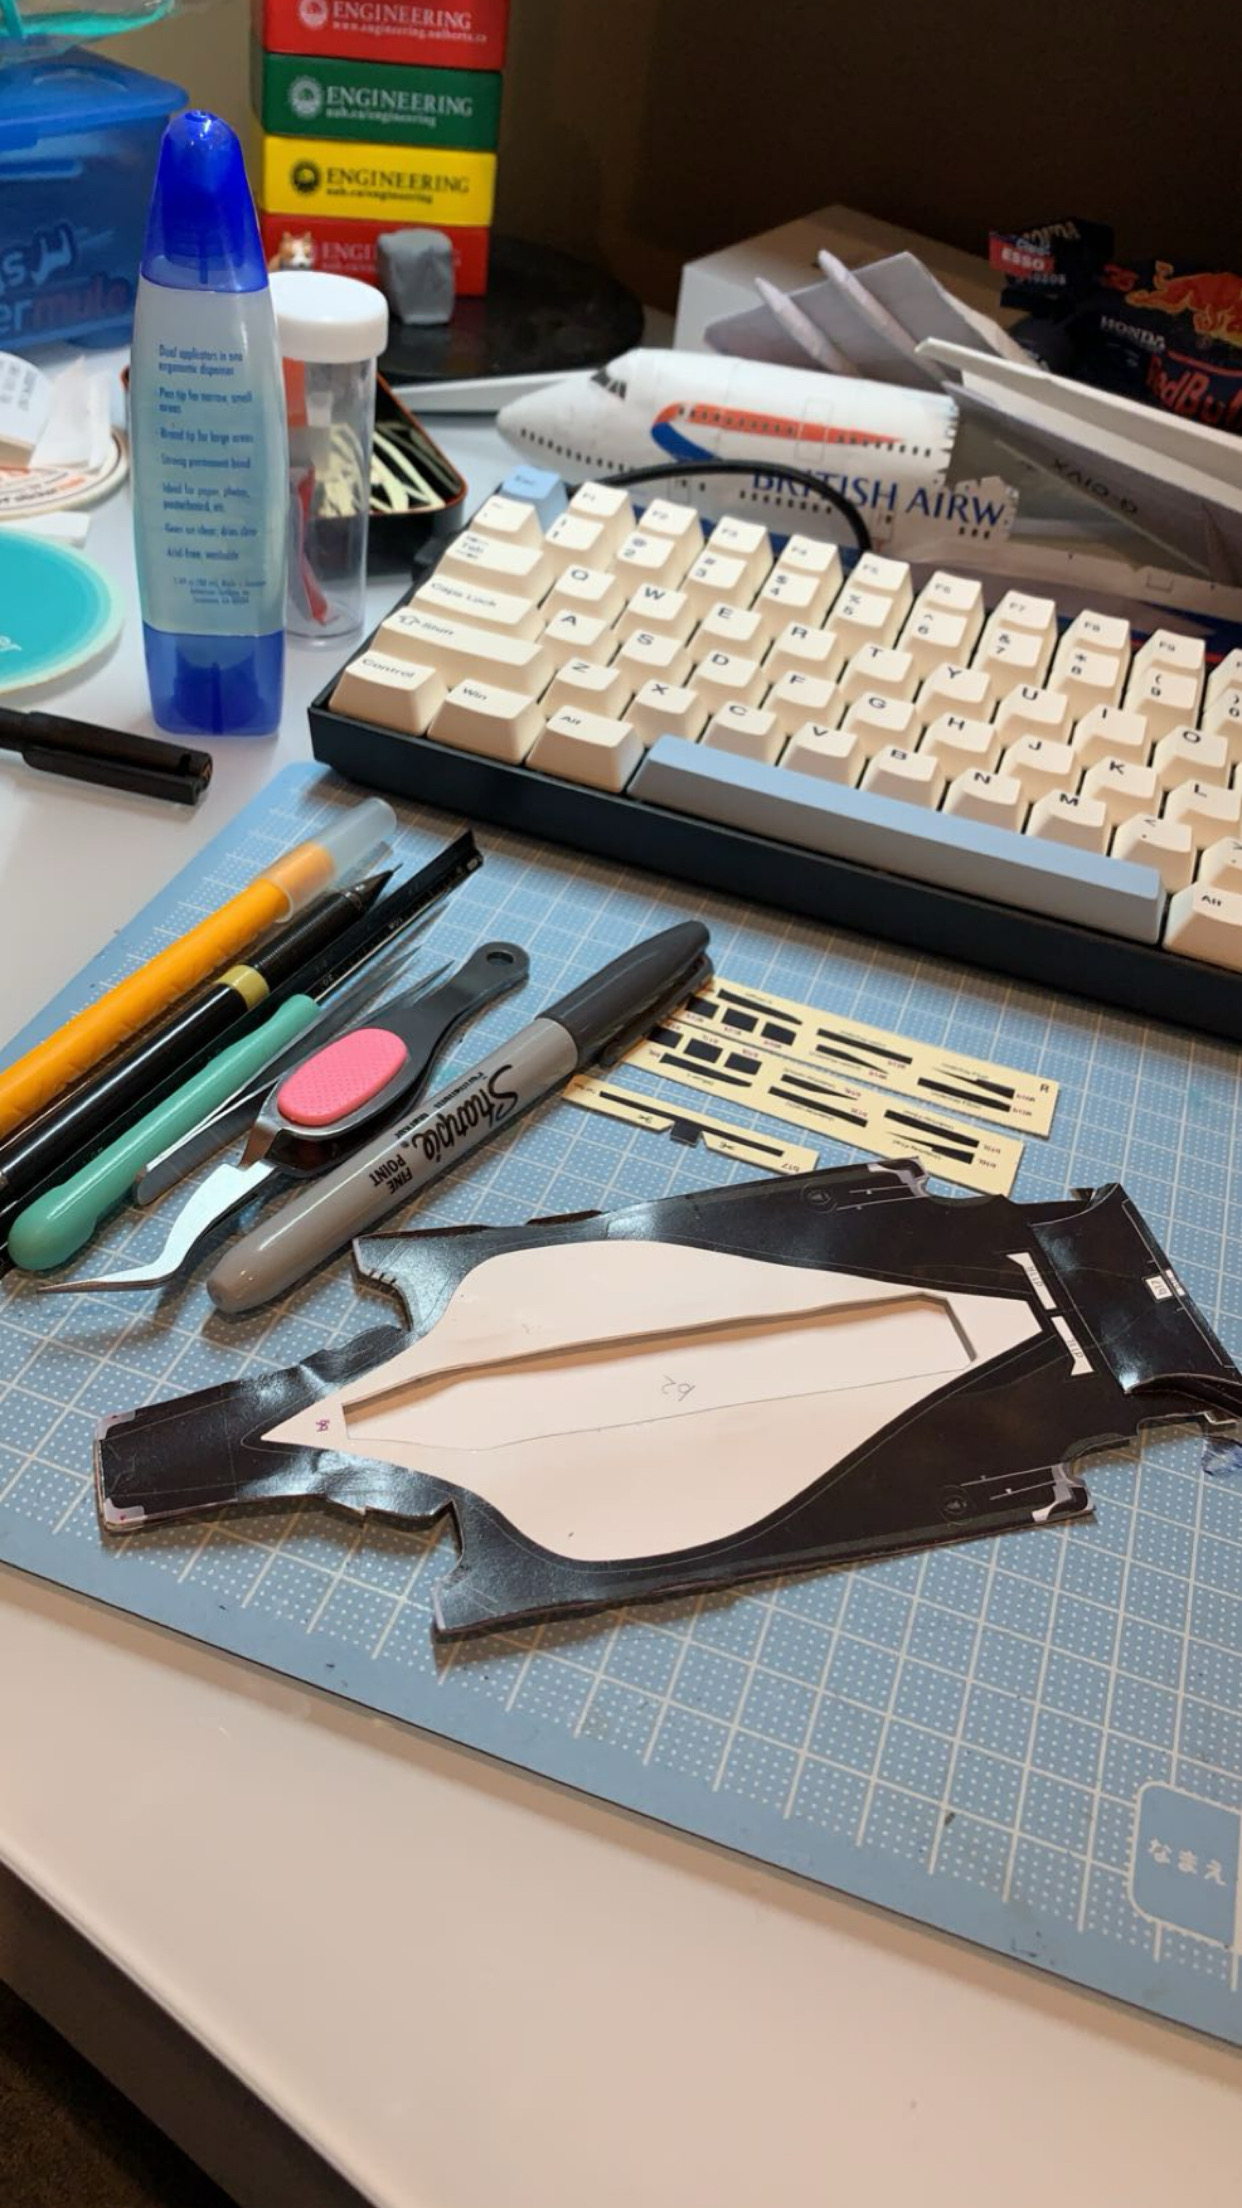
Day 2: Undertray
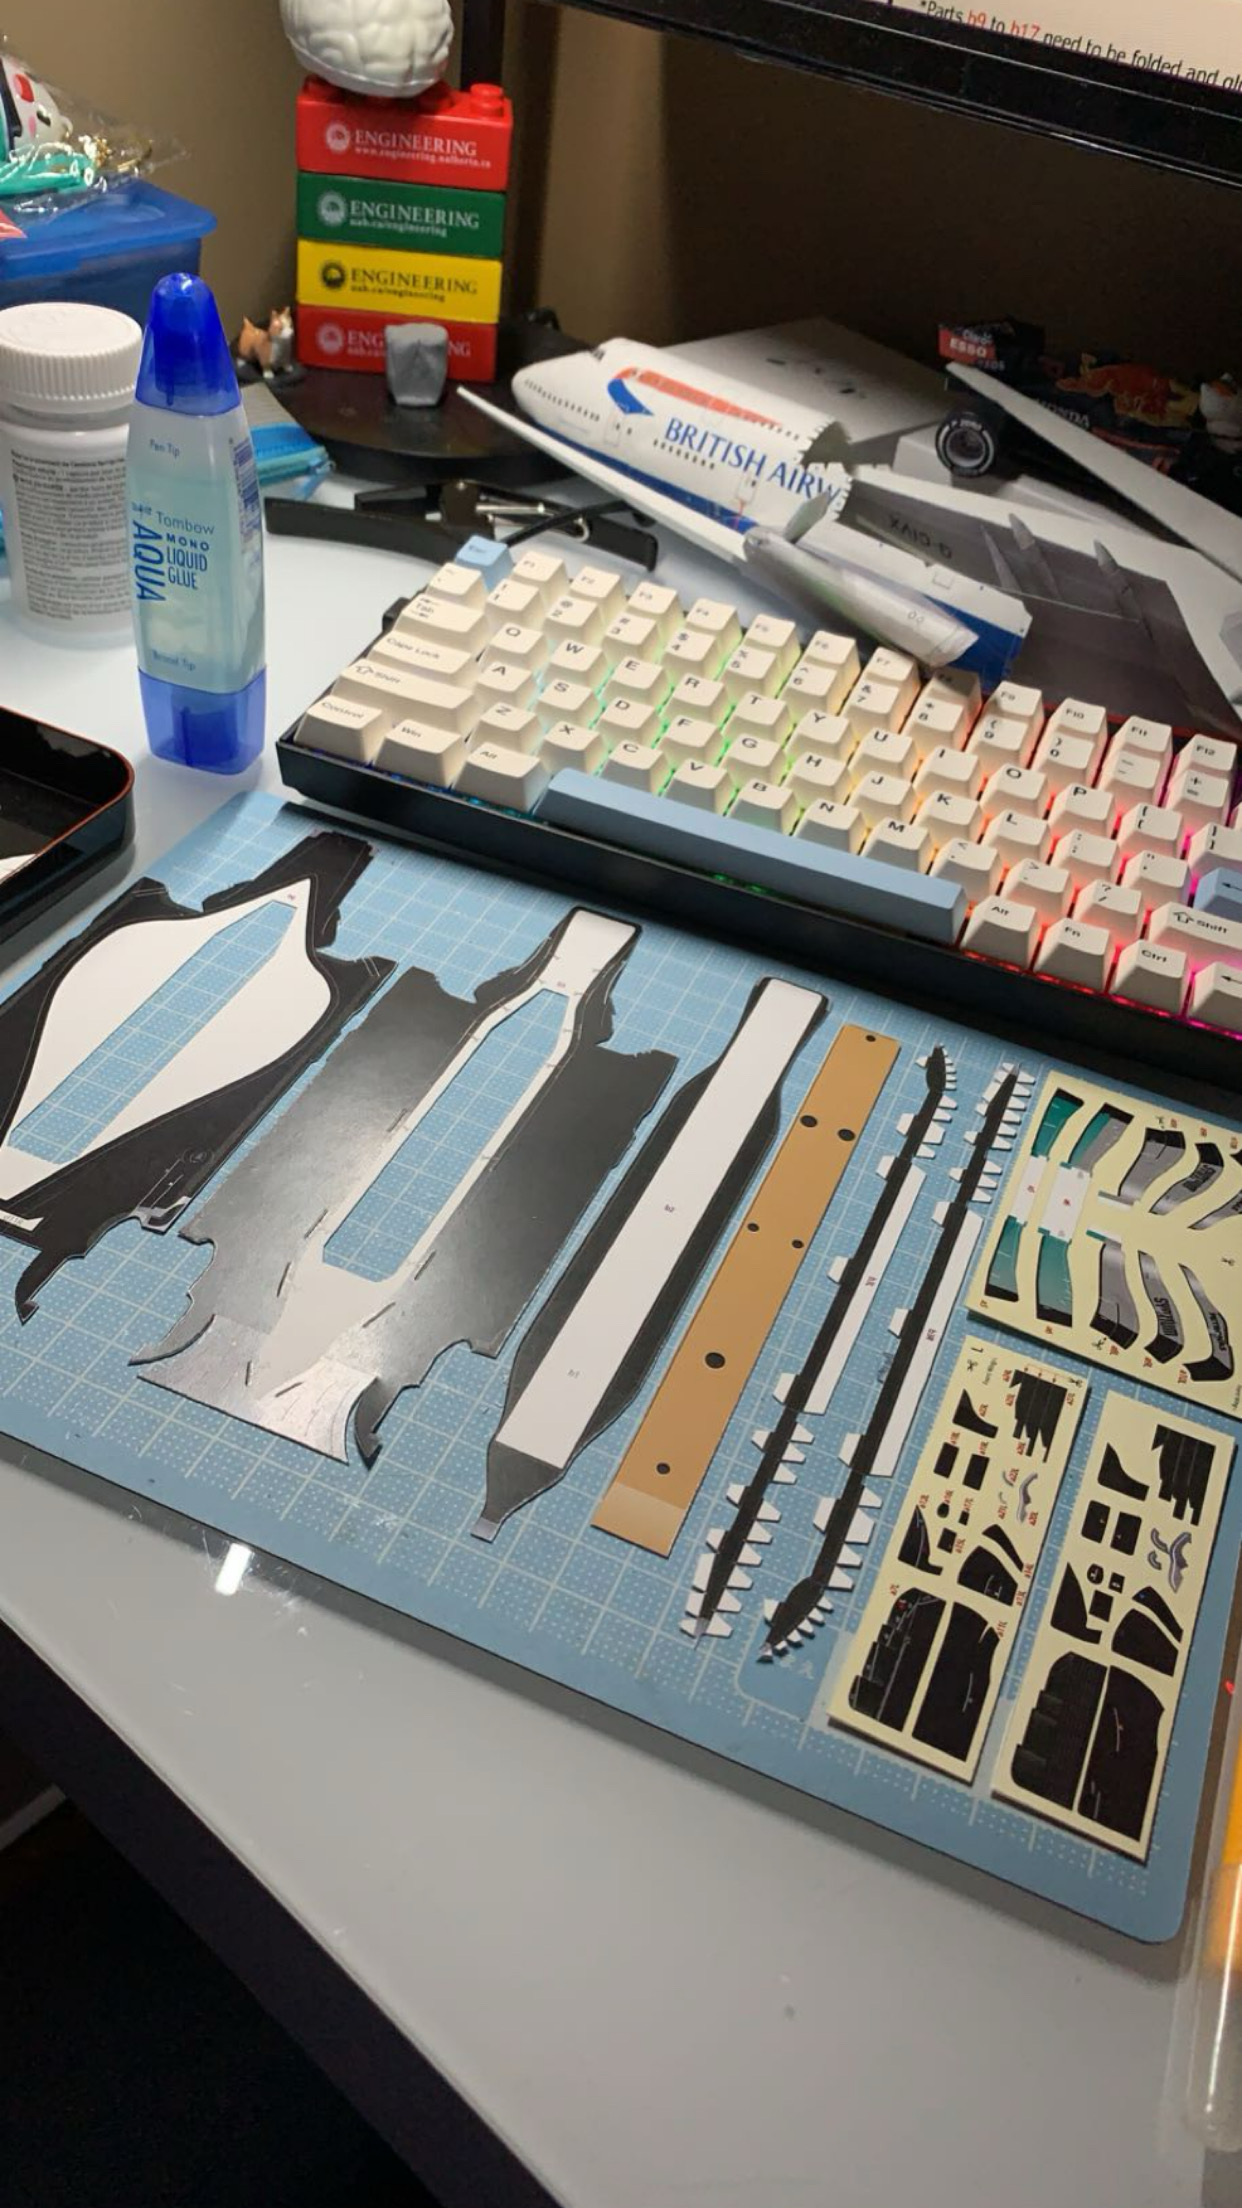
Some smaller pieces are double sided so they need to be 2 layers thick and glued together very well.
Day 3: Glue mishaps
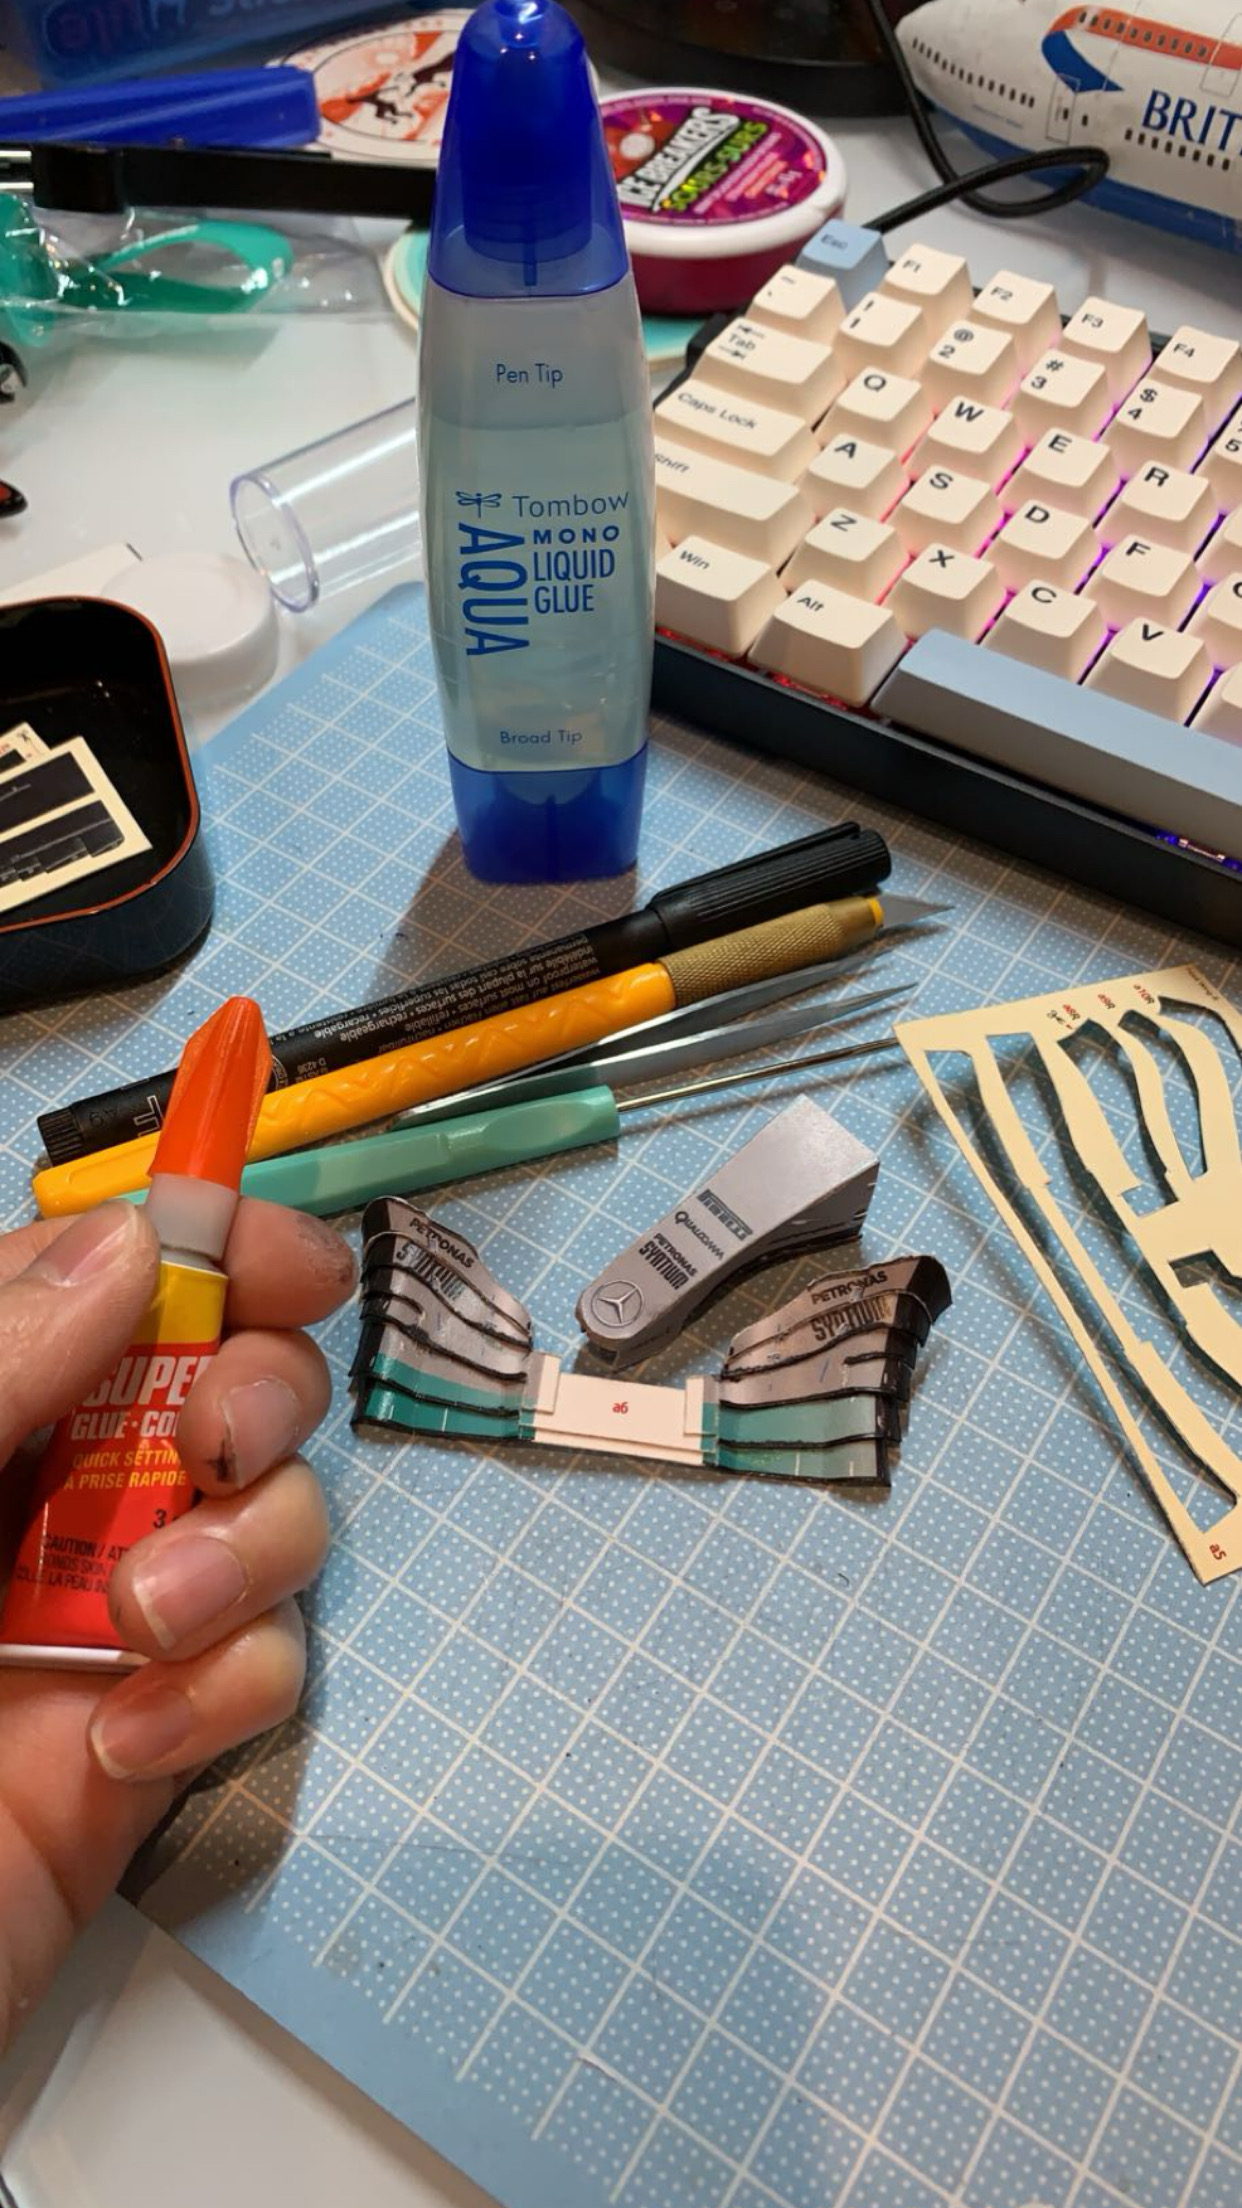
Tried using superglue but found out quickly that it reacted badly with my coloured marker. Switched to Mono liquid glue and sharpie instead. Finished 1/3 of the front wing.
Day 4: Front wing details

A close up look at the small details: cascades and endplates!. These look so long to cut out, curl, glue, and colour the sides in.
Day 5: Turning vanes
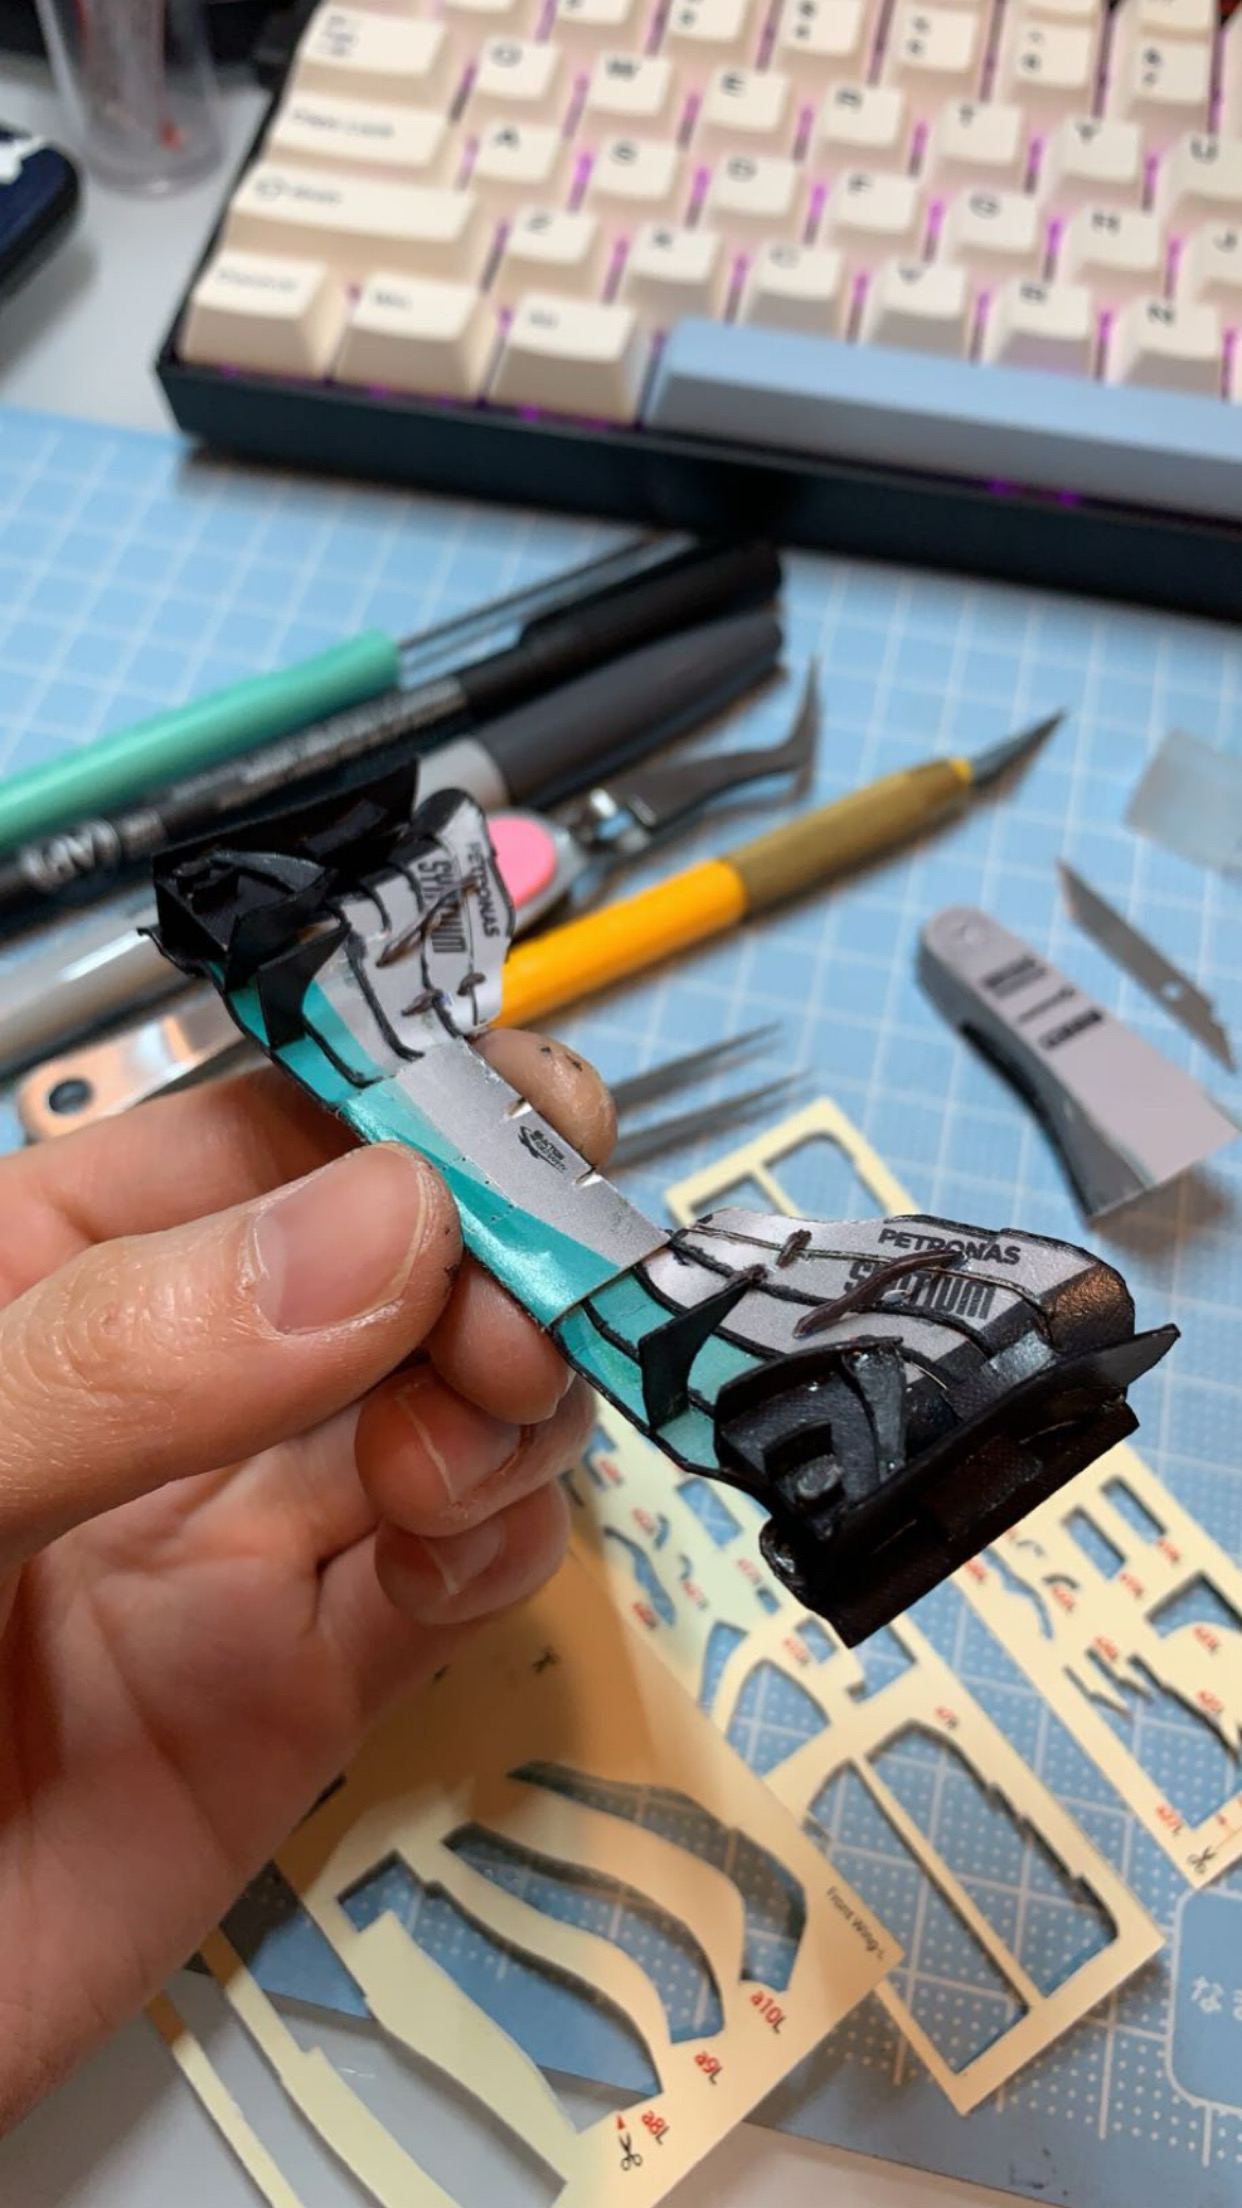
These tiny turning vanes guide airflow underneath and towards the rear of the car.
Day 6: Finishing the undertray
I was sad because it turned out warped due to the large size and amount of glue I used. It doesn't look too complex but this piece itself took 4 hours and is 3 layers thick. There were wayyy too many tabs to glue.
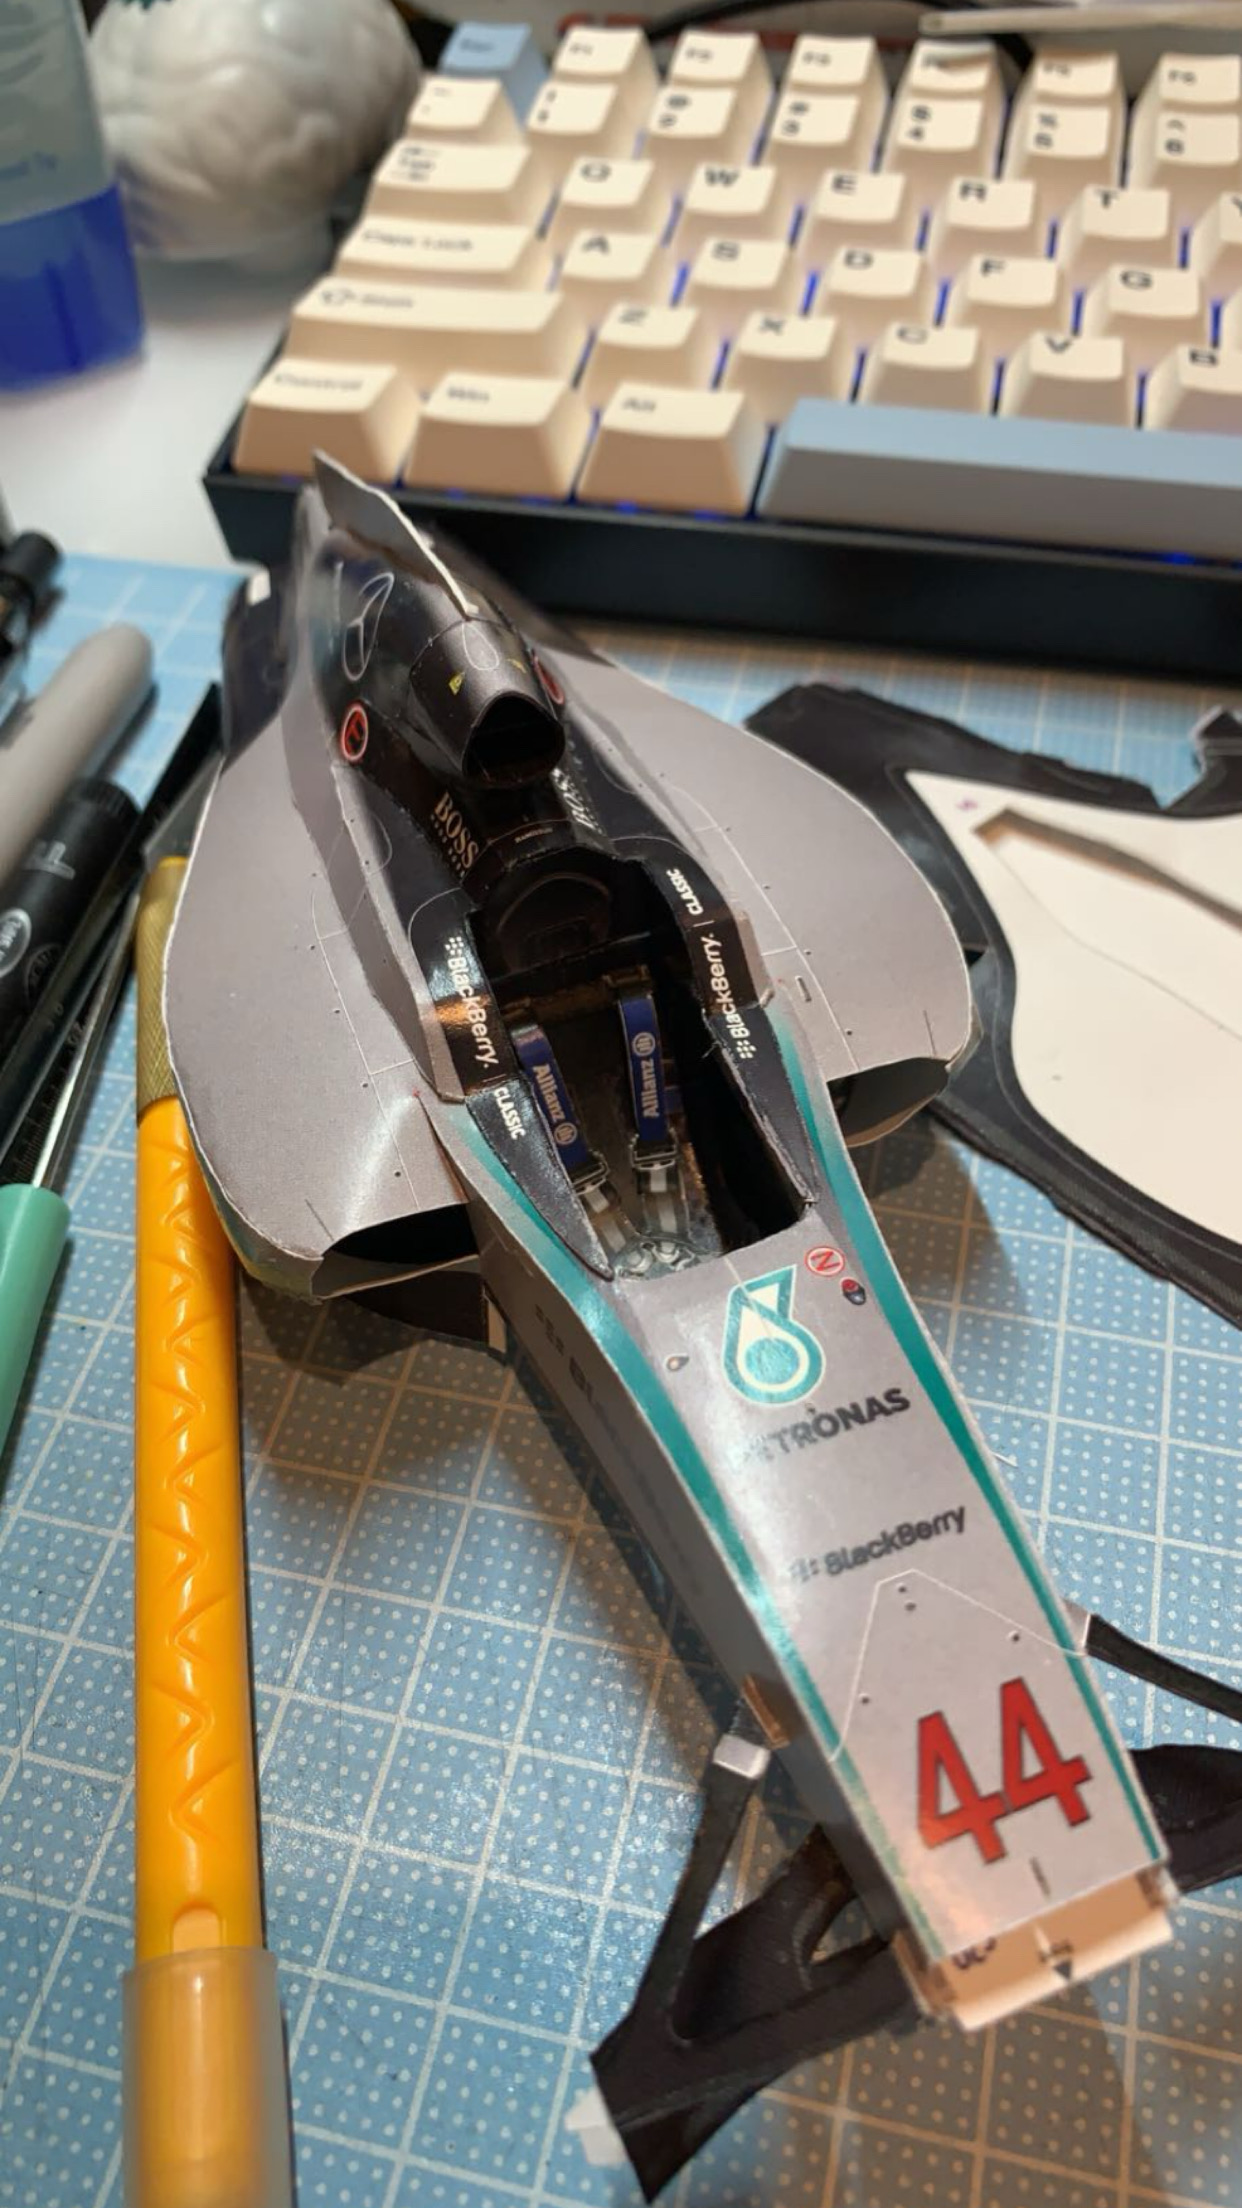
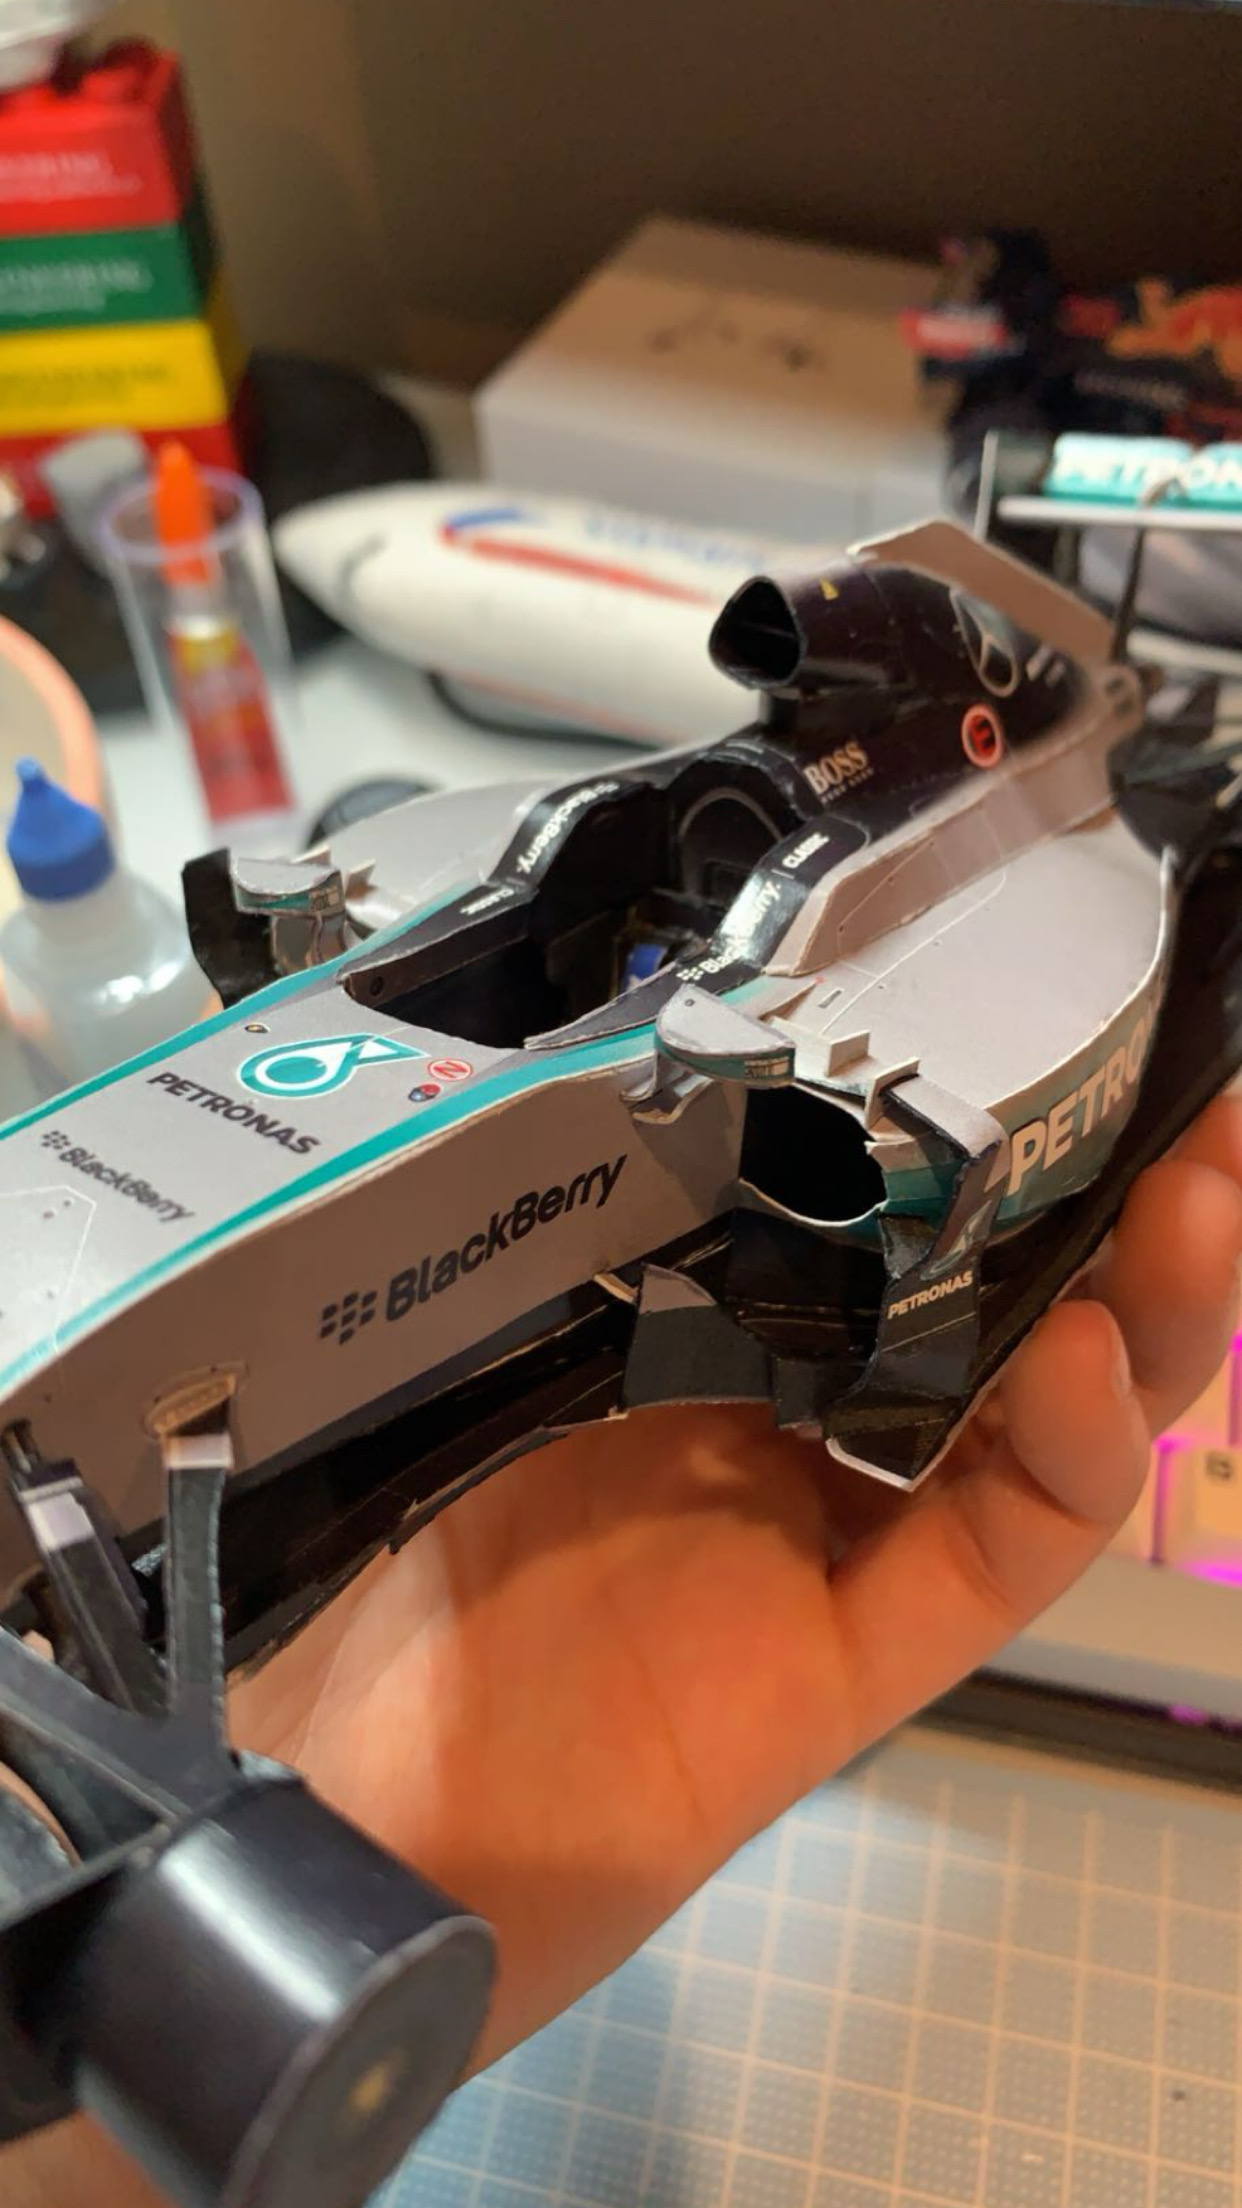
Day 7: Upper body
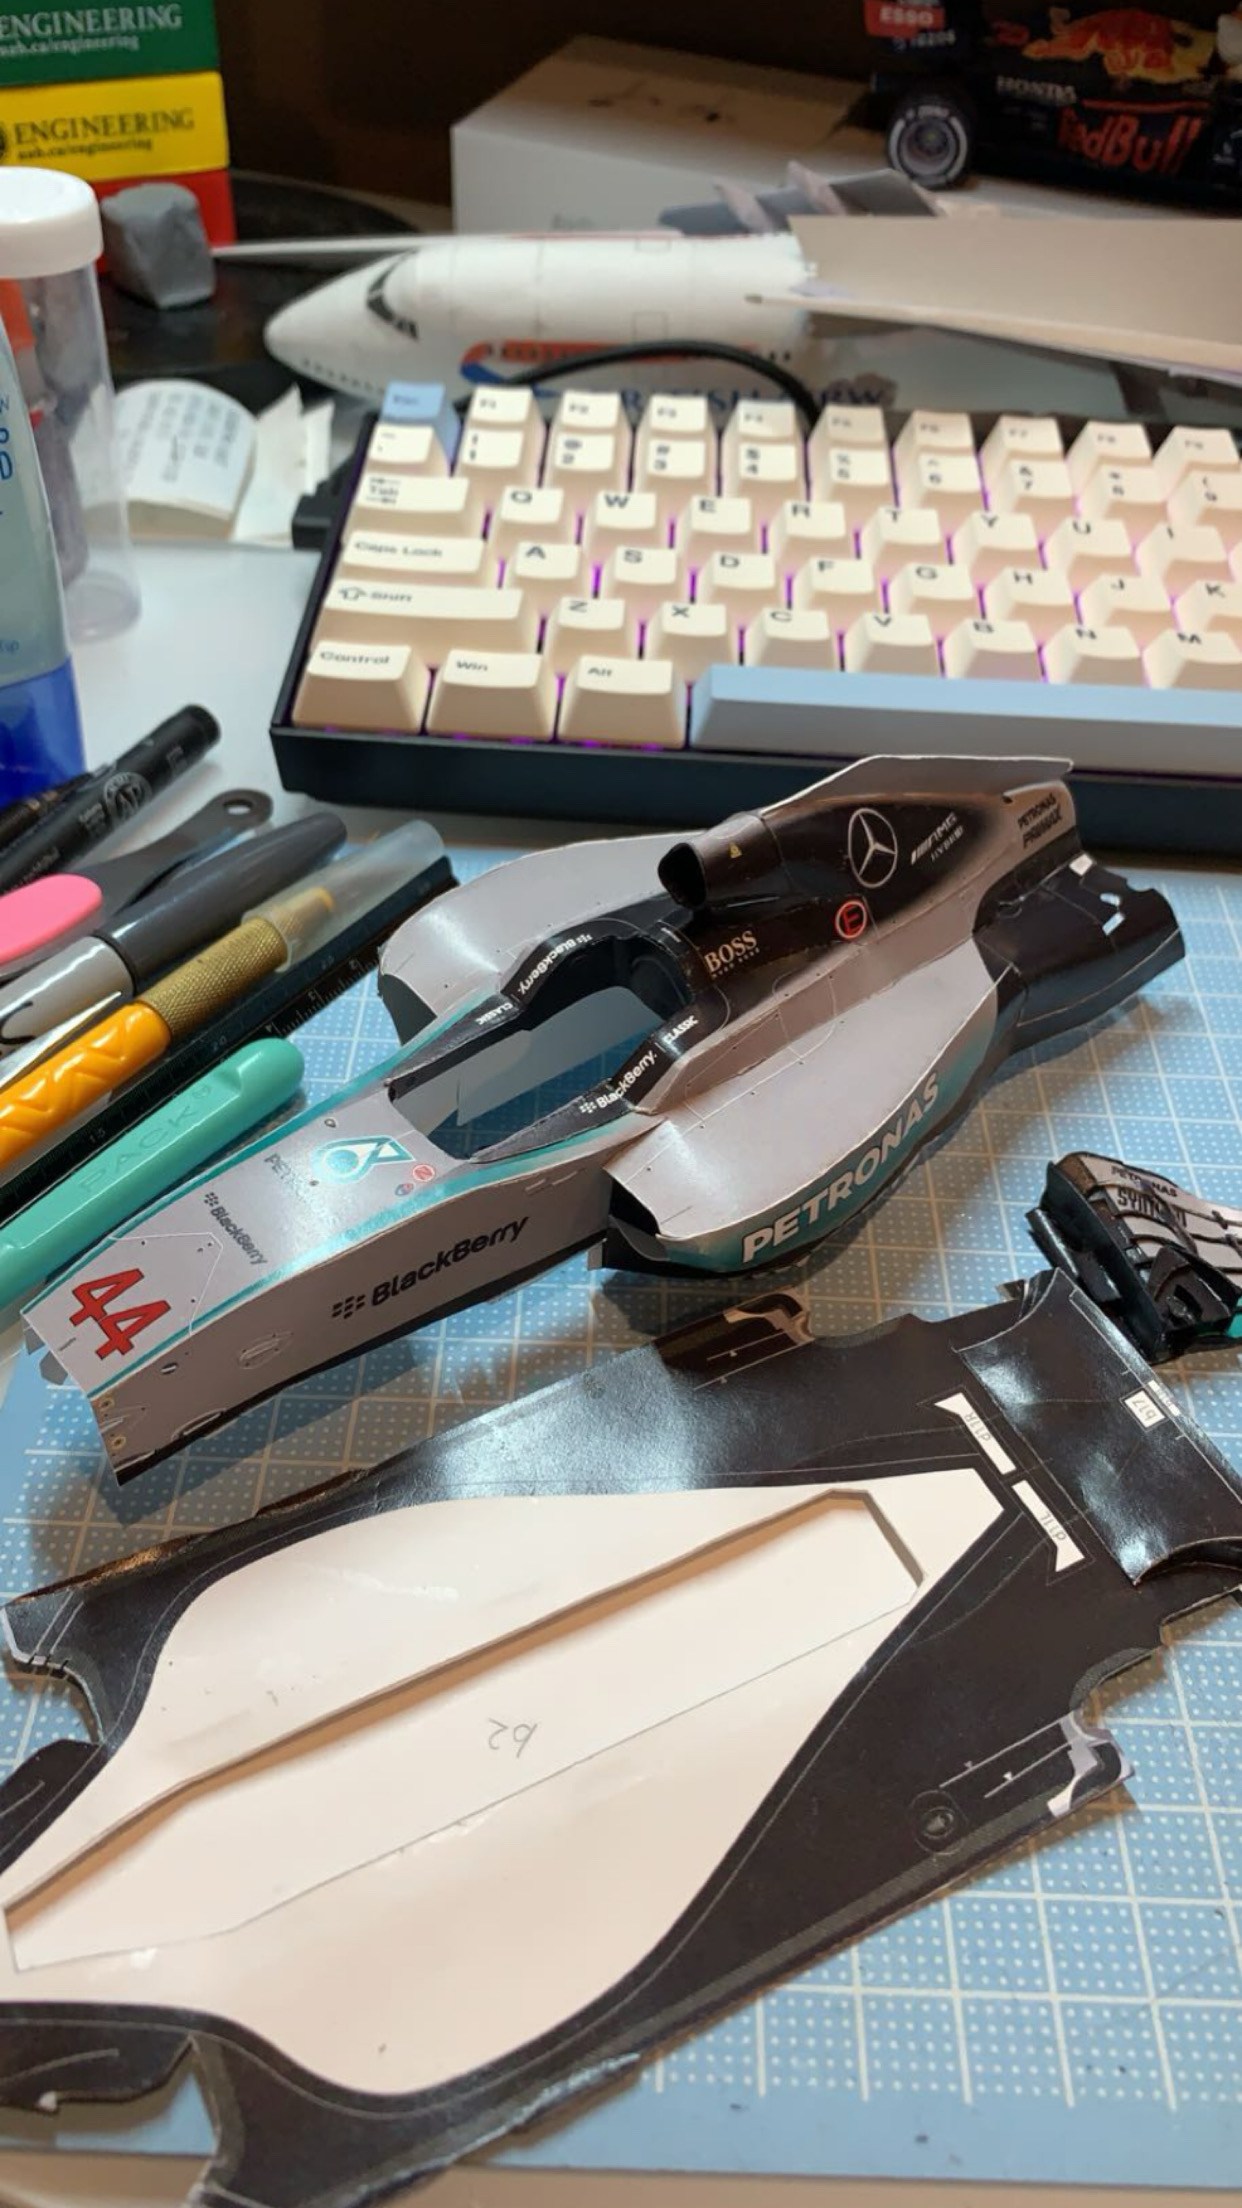
I do not recommend sitting hunched over a desk for 7.5 hours. But the upper body is complete! I'm loving the look of the matte gloss finish I chose for the paper.
Day 8: Rear body
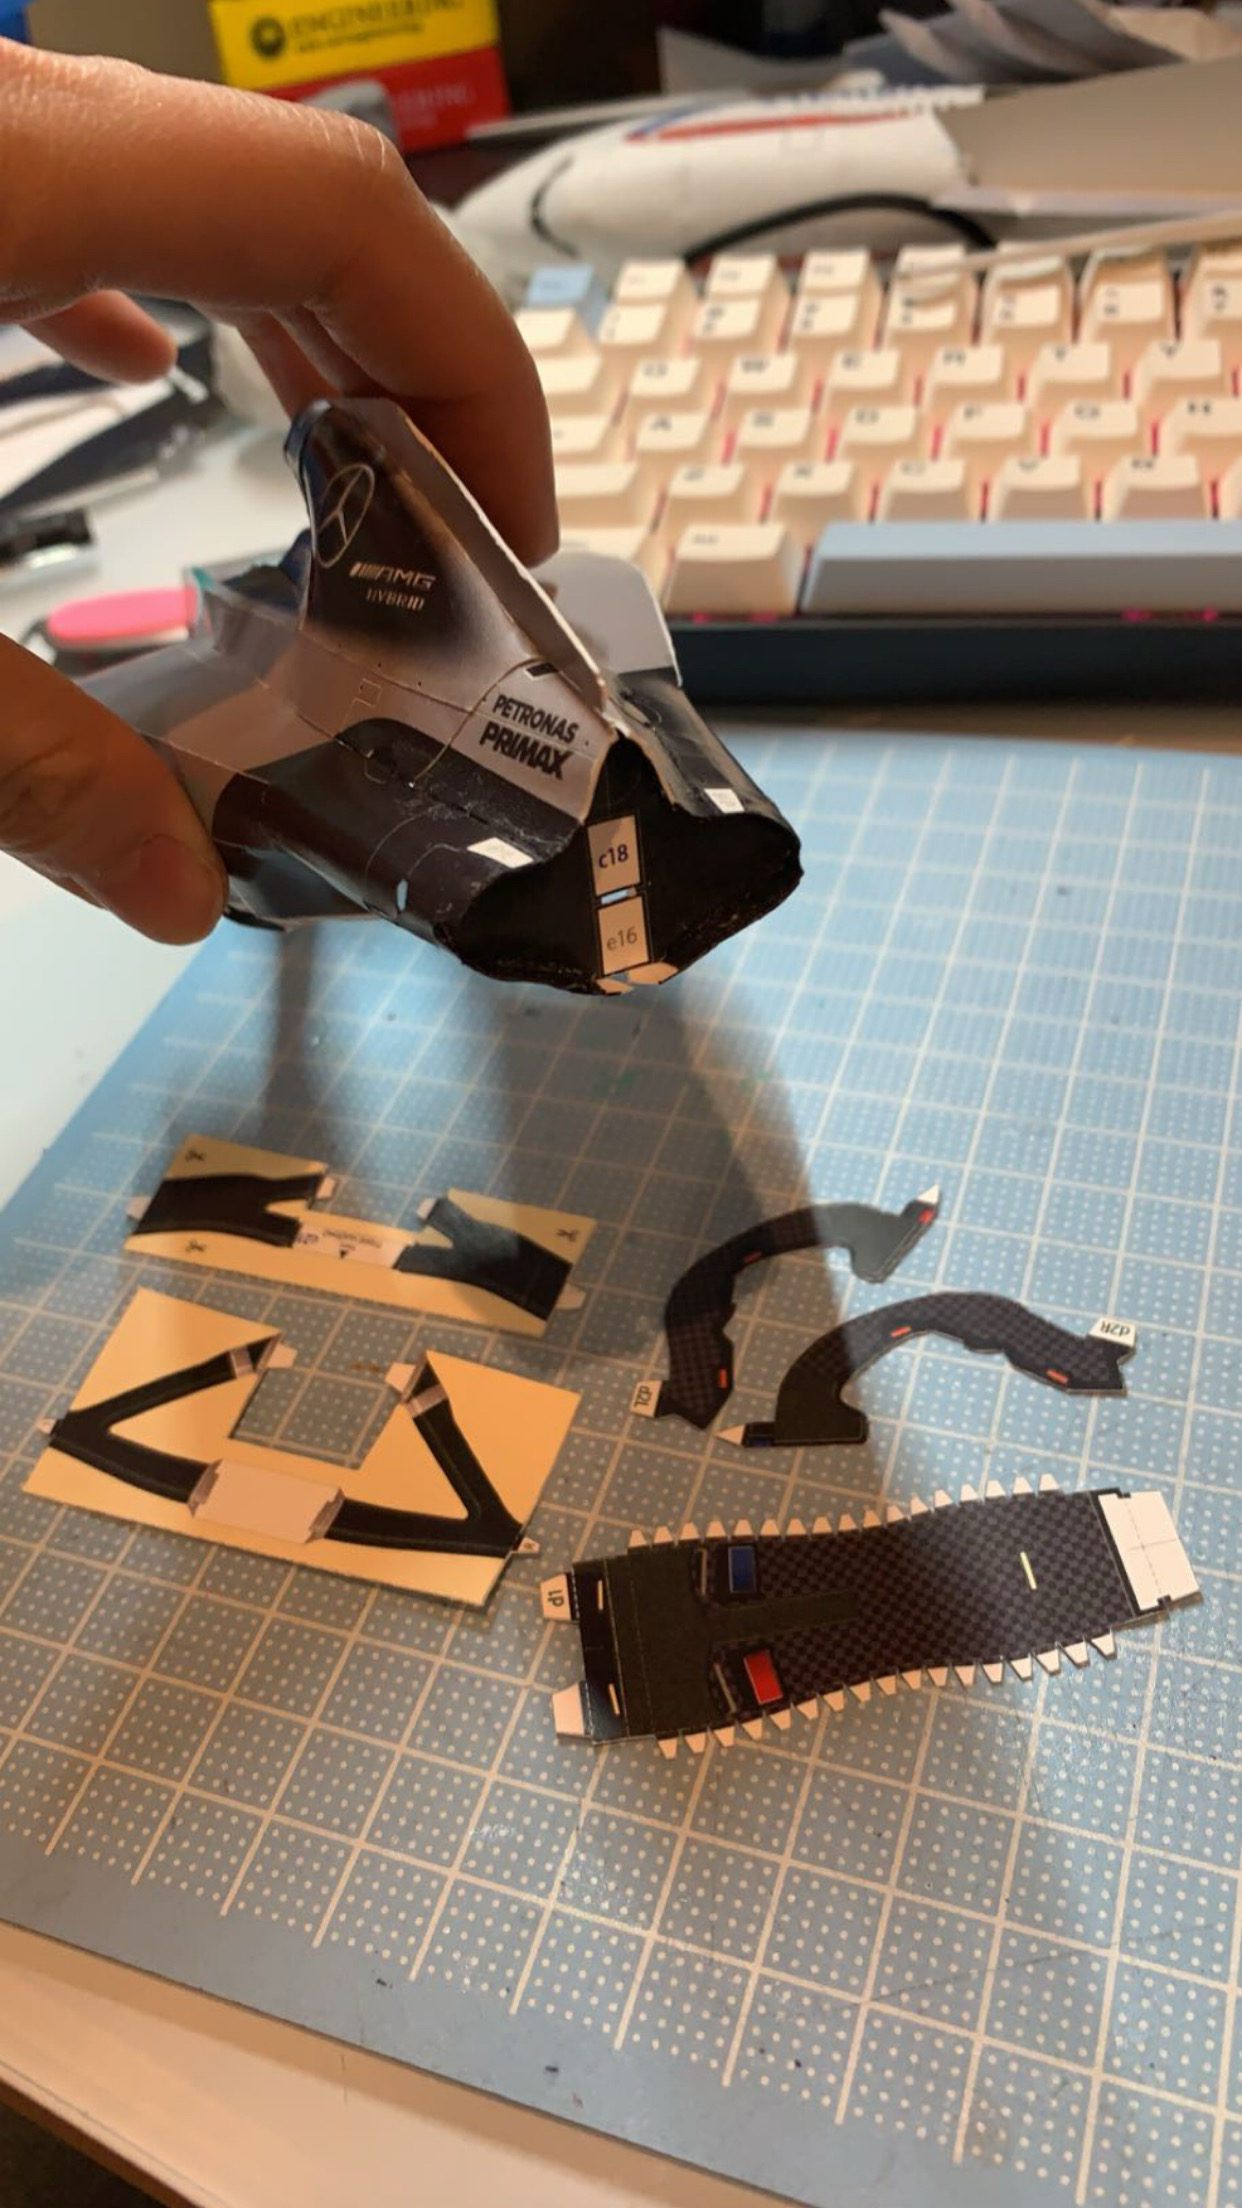
Finished attaching the rear body! I really enjoyed the detailed geometry here and the way the decals flowed seamlessly from the upper body. Next is the front suspension... you could say the suspense was killing me!
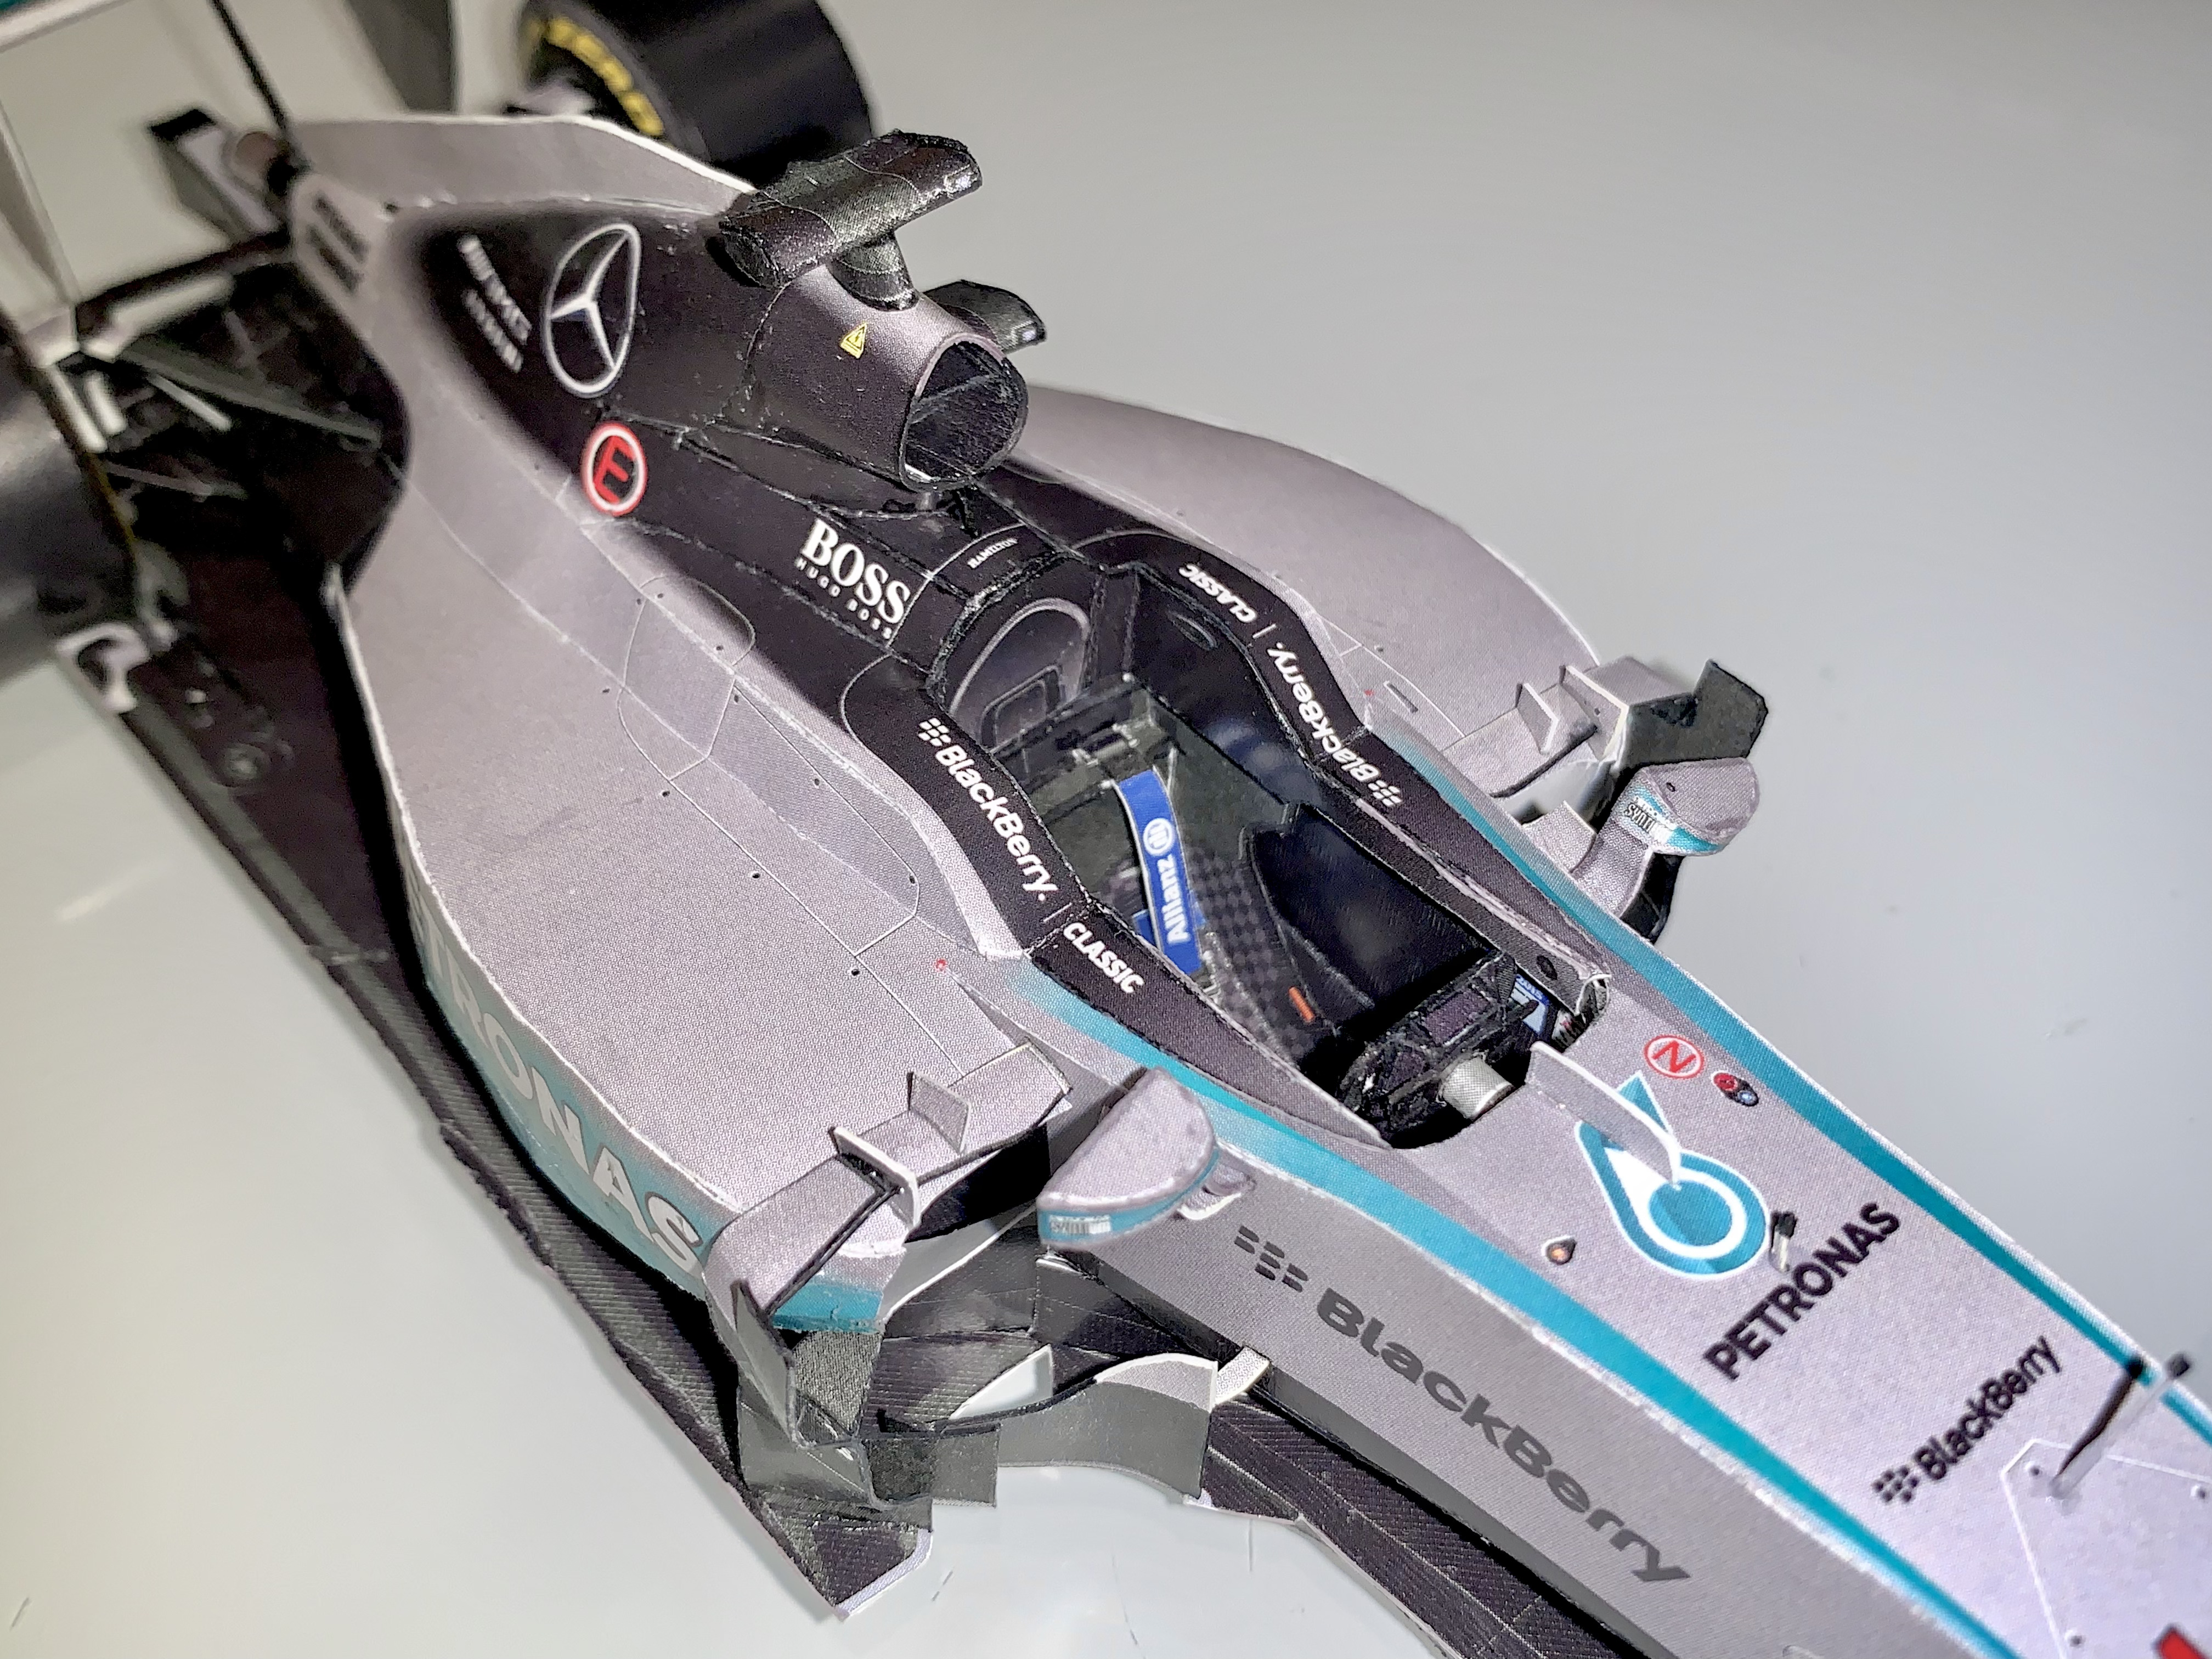
Day 9: Cockpit and front suspension
Here's a detailed view of the seatbelt and bucket seat. I still can't believe it has buckles. At this point, I'm about halfway finished the car!
Day 10: MORE glue mishaps
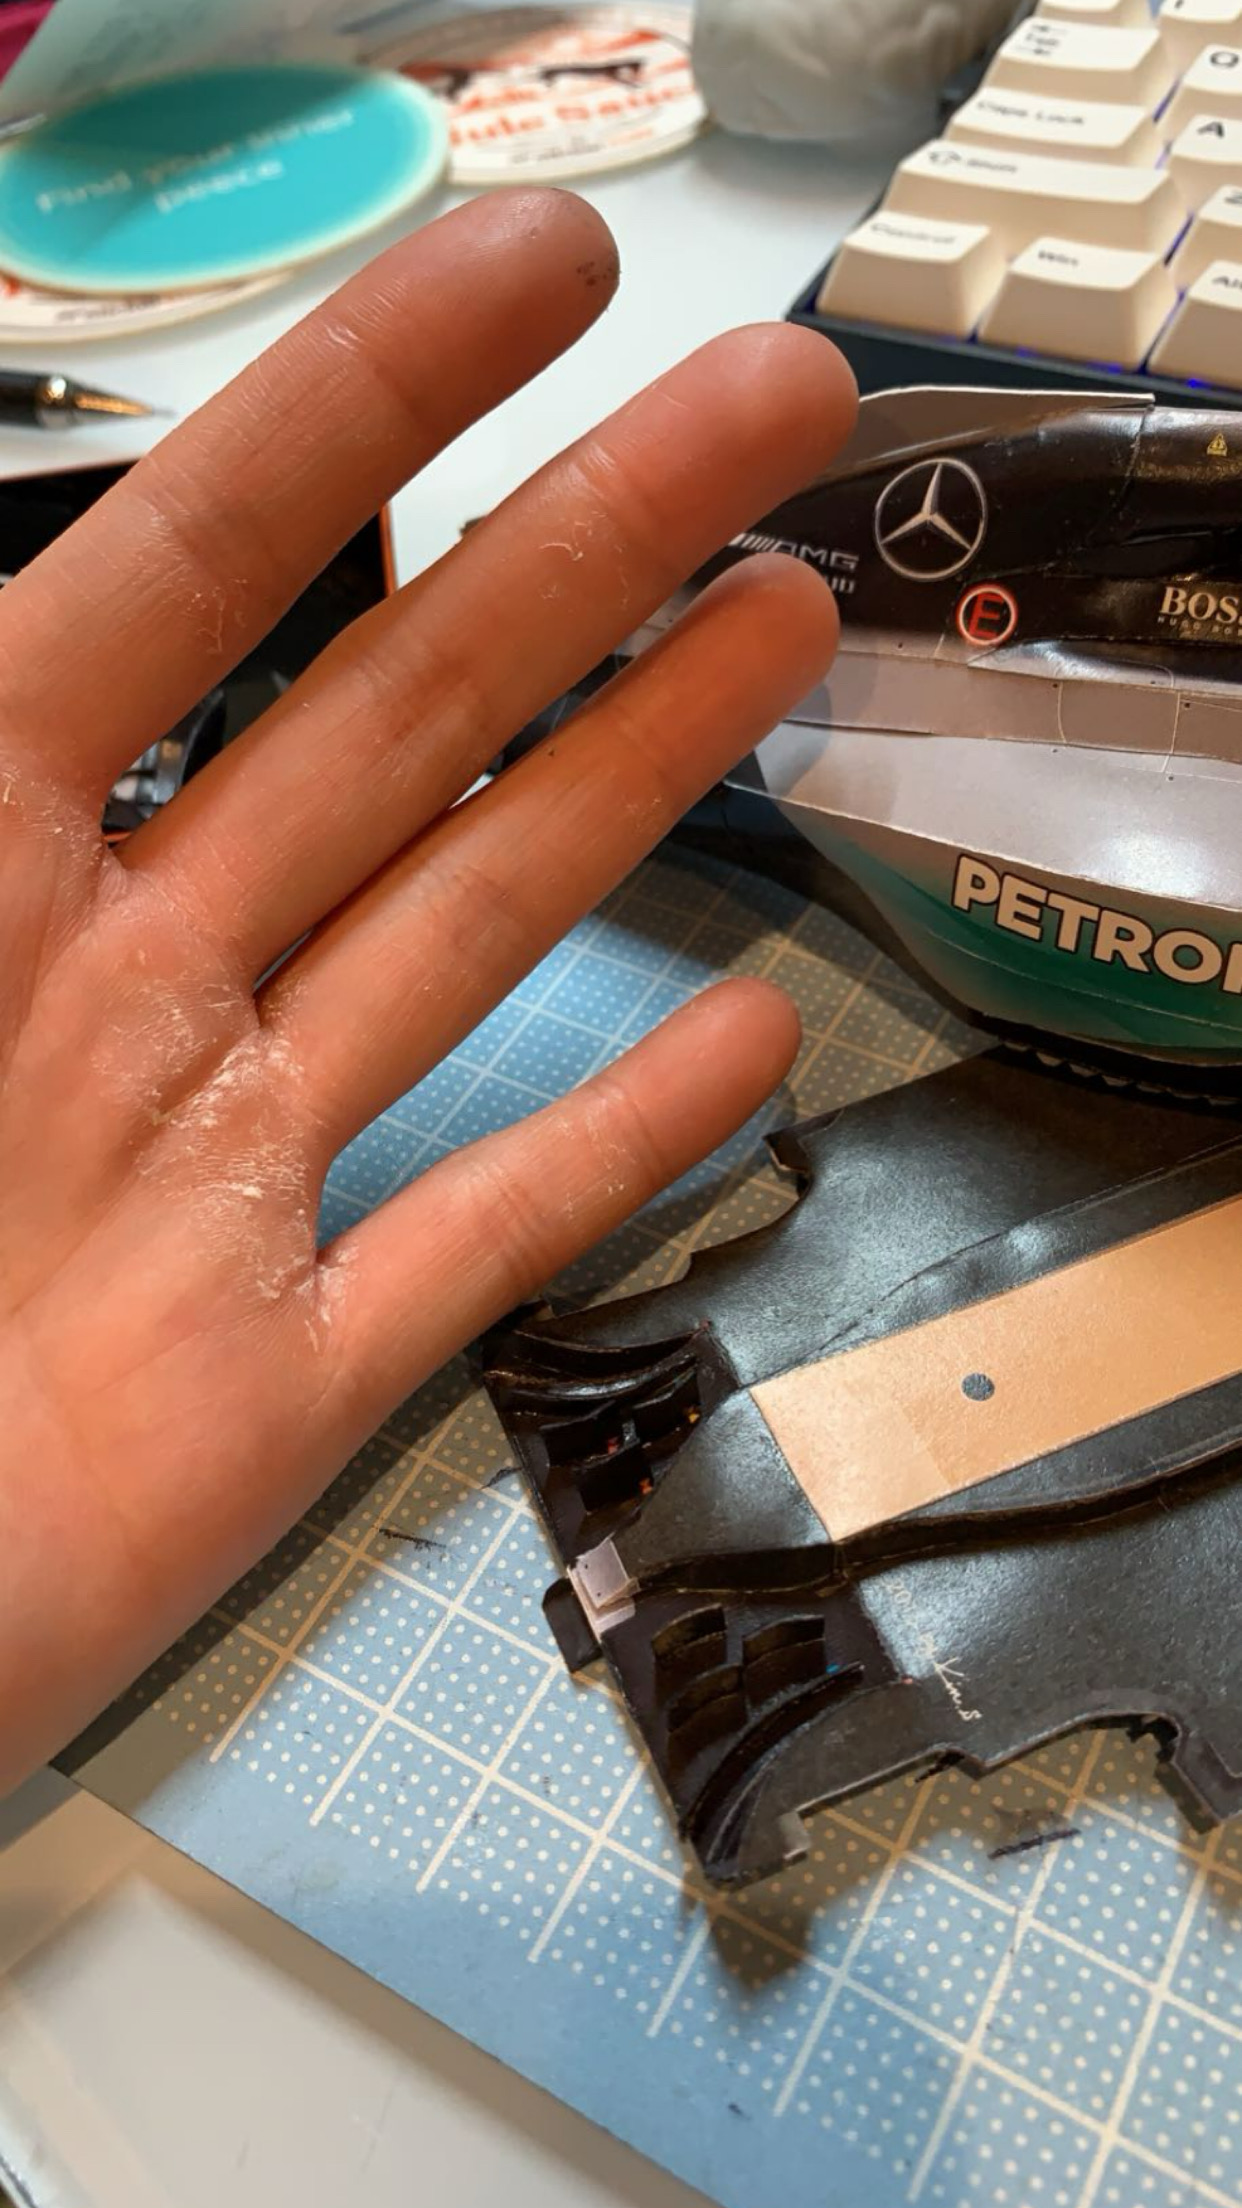
I finished the undertray and diffuers at the unfortunate expense of coating my hand with superglue. These diffusers generate a low pressure zone to generate downforce, improving stability when cornering at high speeds.
Day 11: Car belly
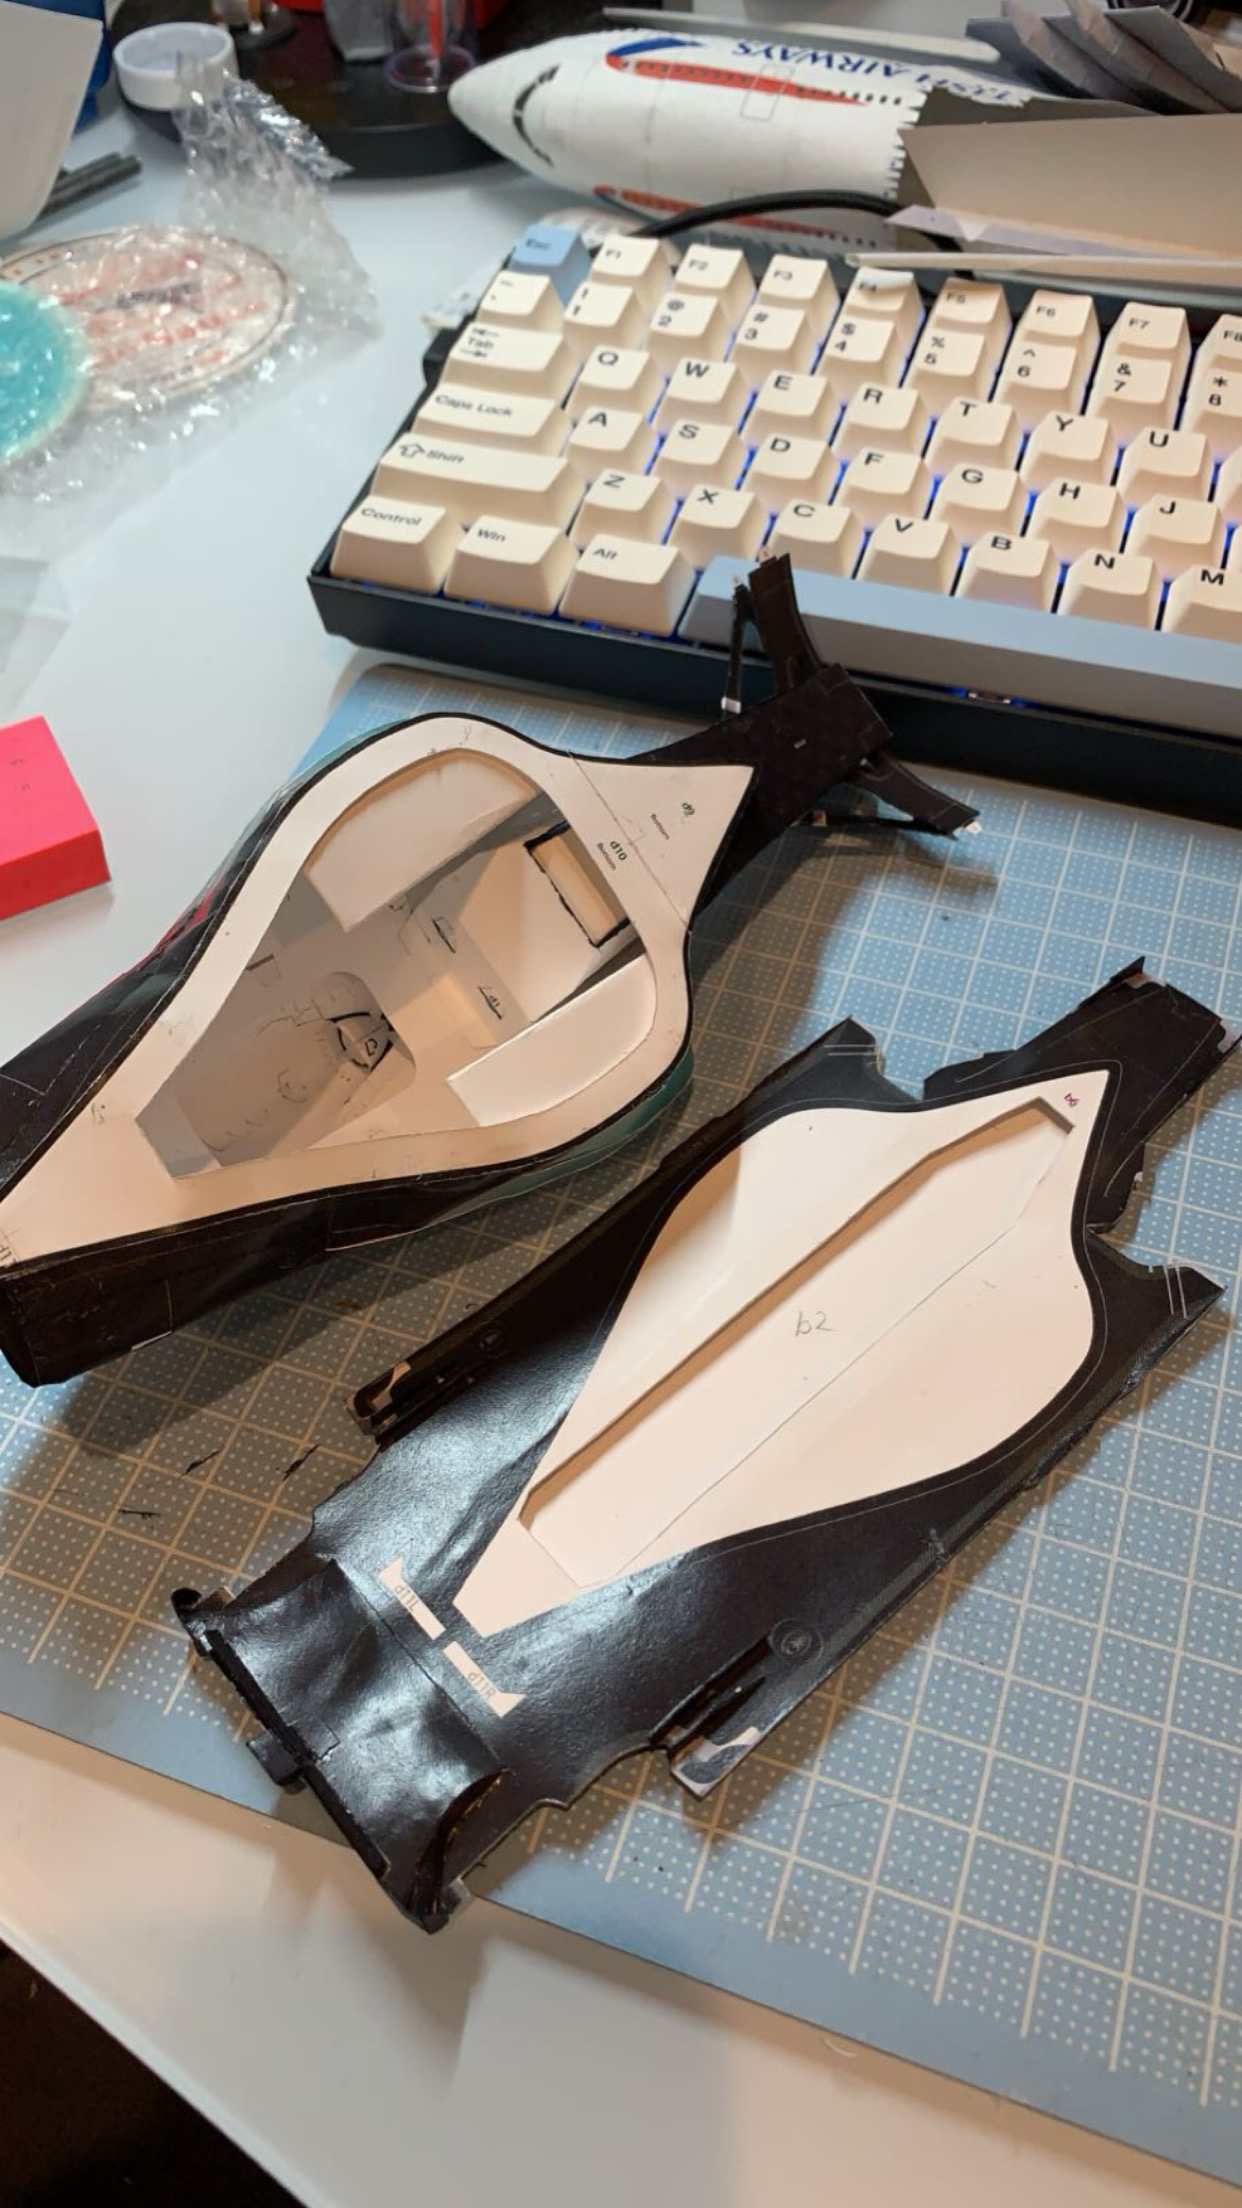
Here's a good look at the inside of the car, including the piece that connect the upper body to the undertray. There were a lot of edge pieces with a million tabs which made me wish I had one of those surgery robots so my fingers would stop getting glue everywhere.
Day 12: Right rear brakes
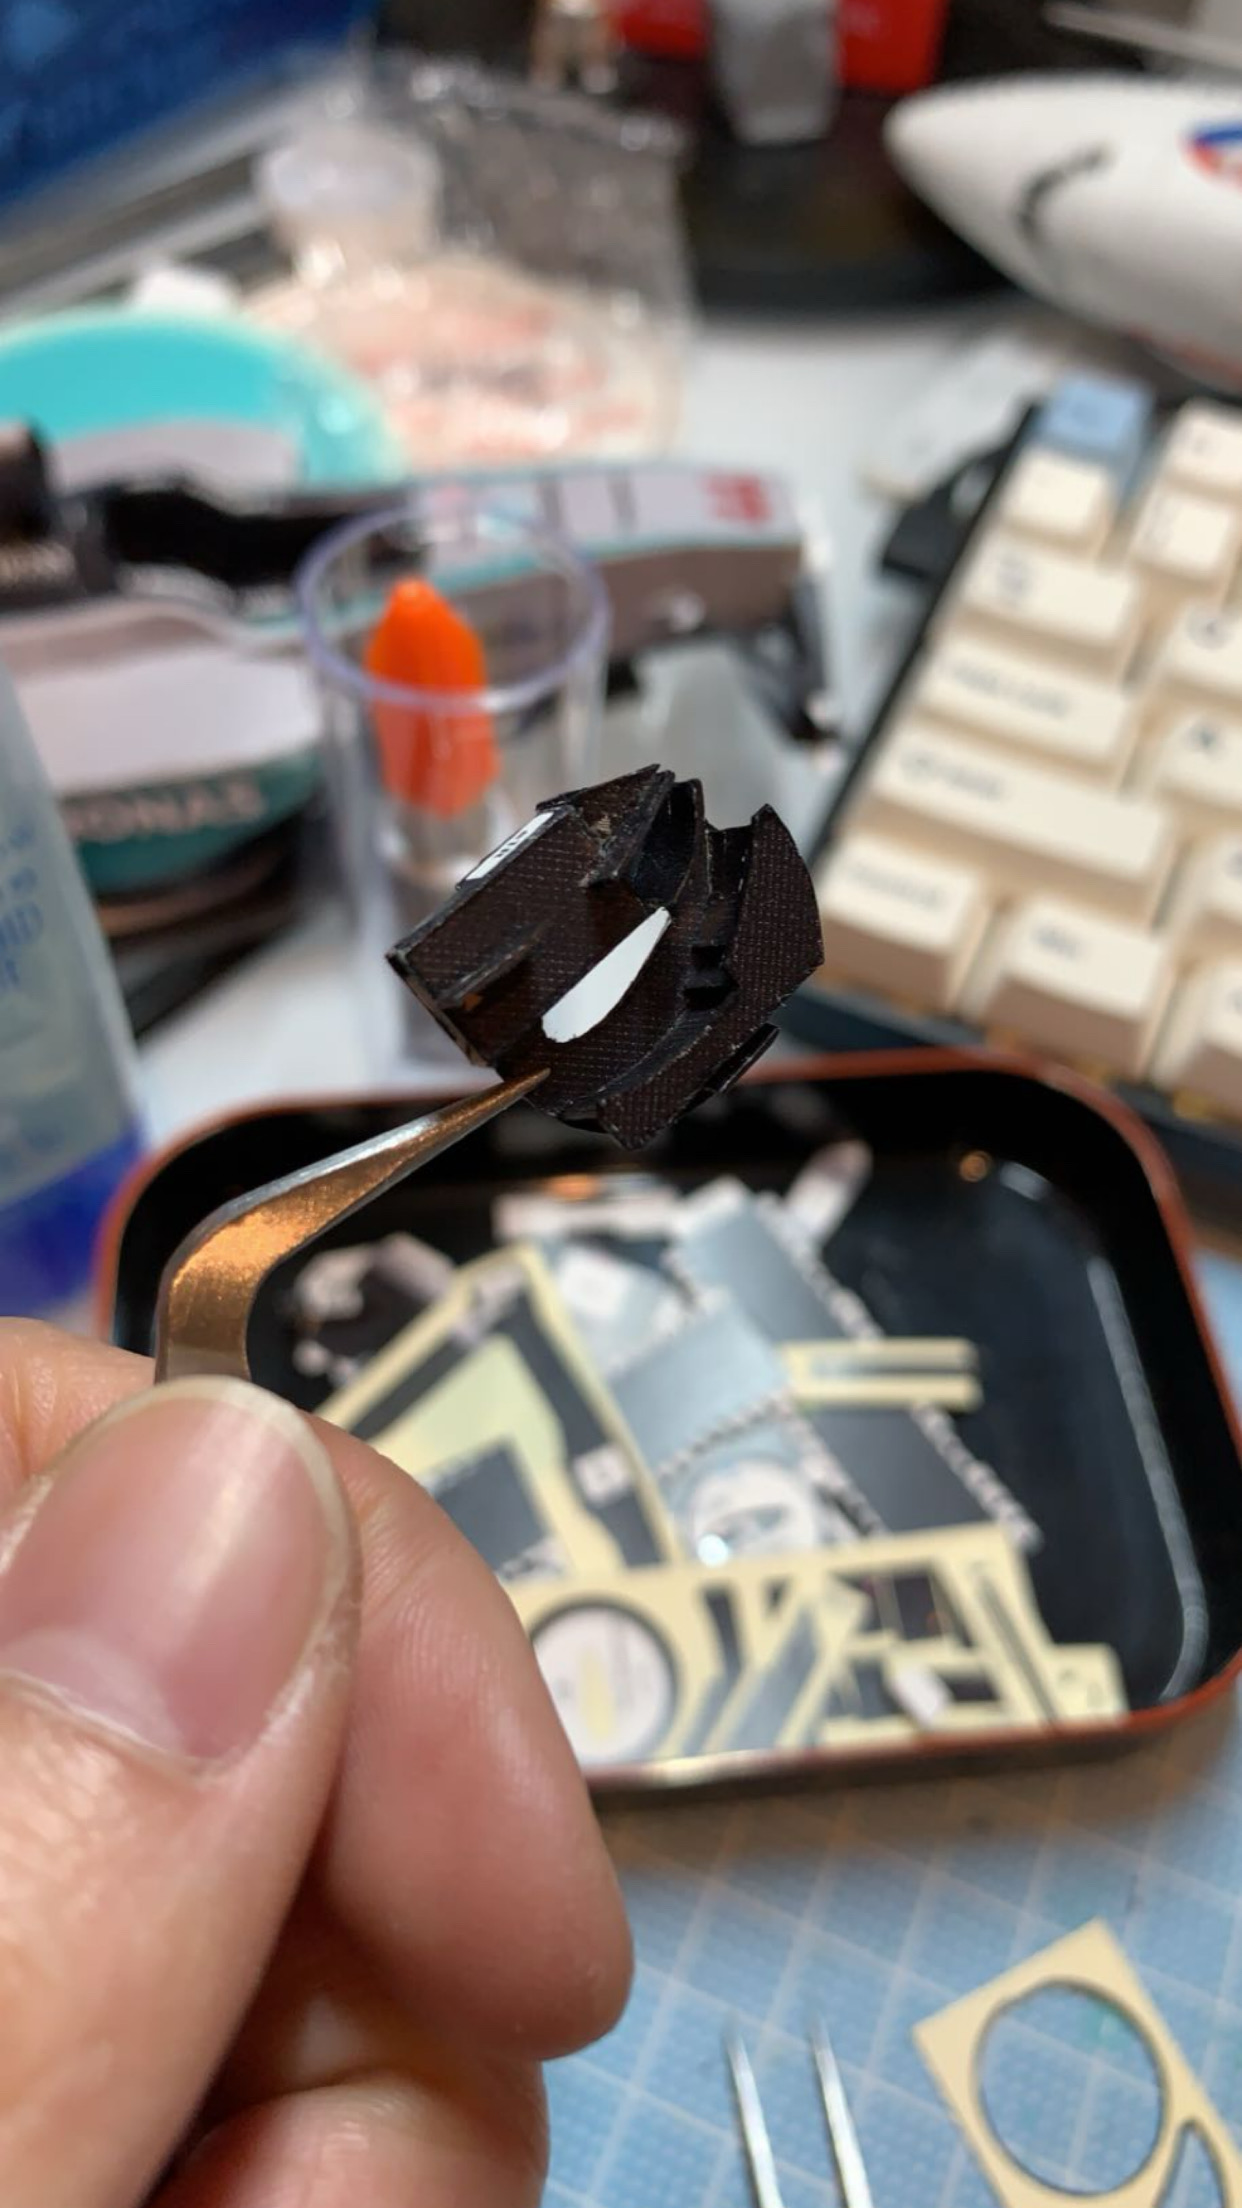
Although this singular rear brake is the size of my thumb, it took 2.5 hours to make and has 11 individual pieces. 3 more brakes to go!
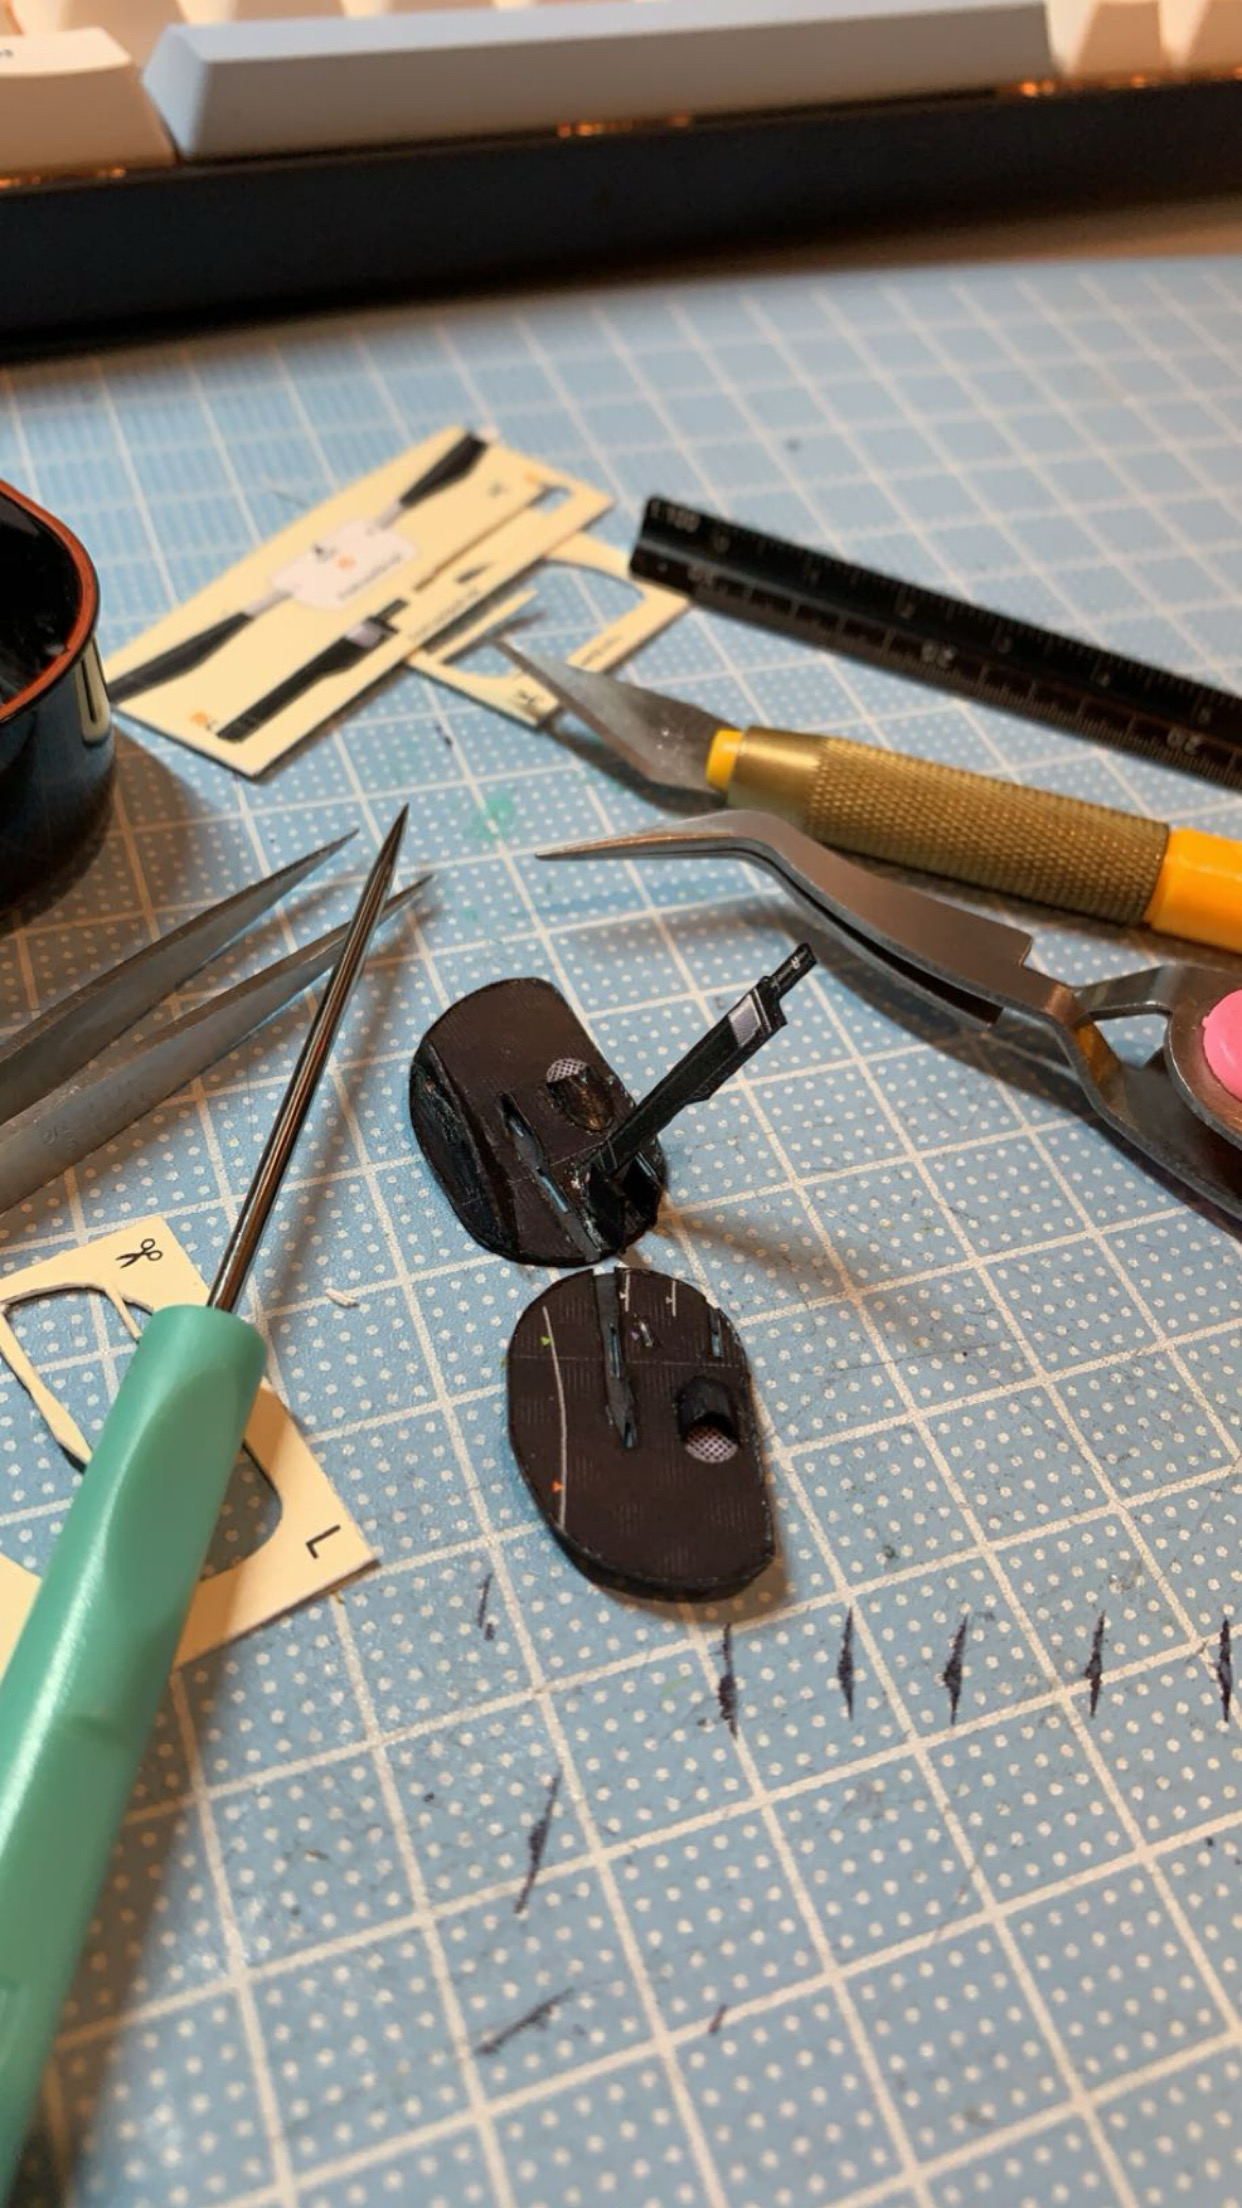
Day 13: Left rear brake

This is a pretty cool internal view of the rear brake. Unfortunately, it'll all be covered up by the wheel hub later so I'm happy this image is immortalized on my website. I've also started pre-cutting pieces out and storing them in the little bin in the background so I can assemble uninteruppted.
Day 14: Rear suspension
A fun fact about this component is that is actually works! The two points where the suspension arms enter the car are not glued down so they're able to slide in and out as the car bounces.
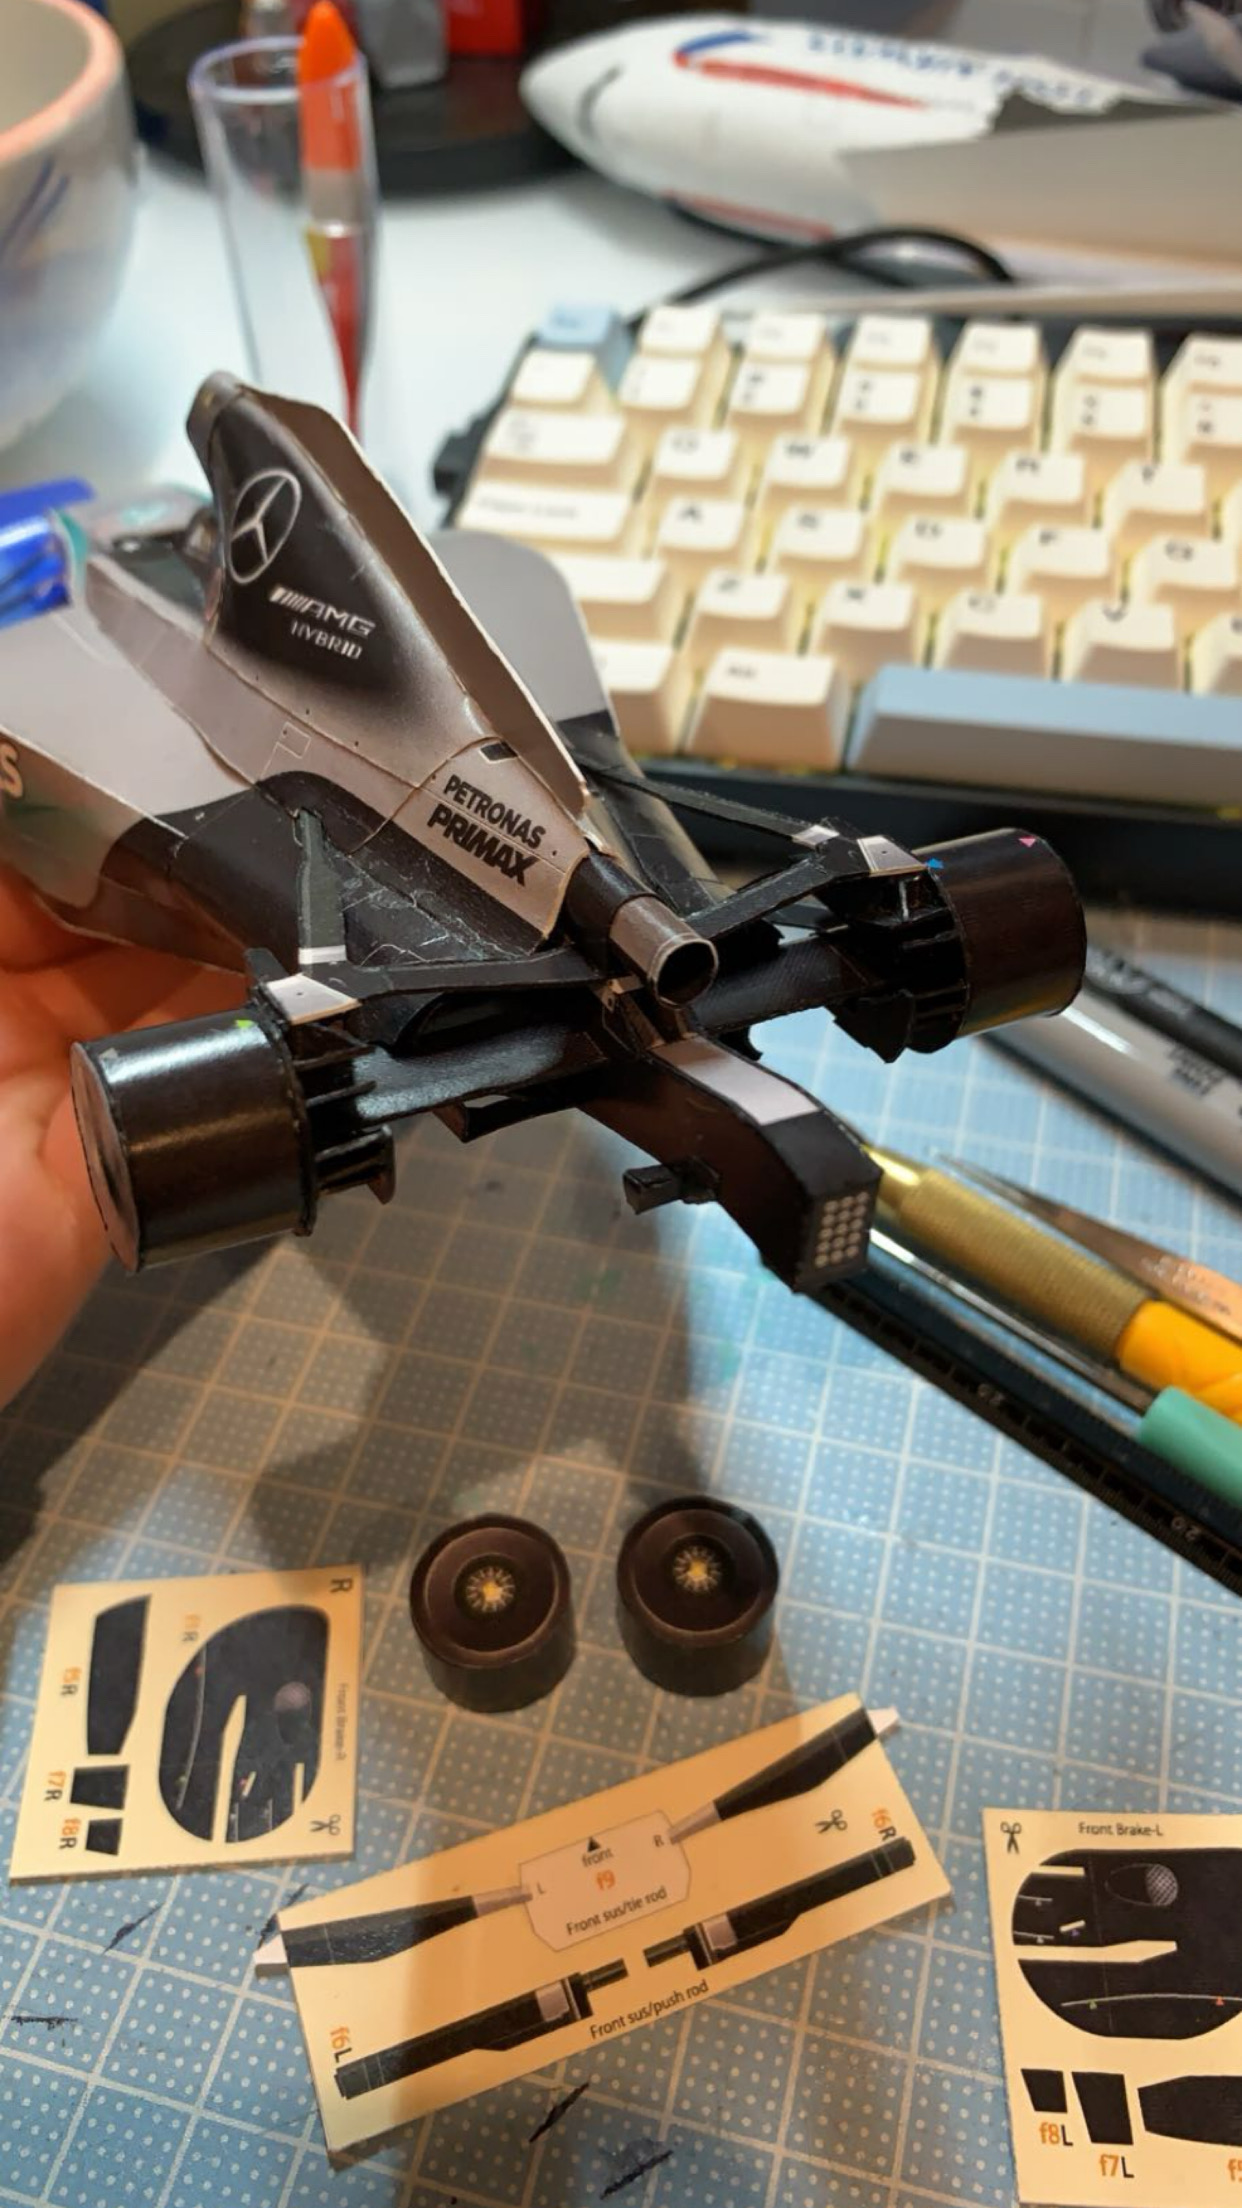
Day 15: Front brakes
I really appreciate Shinozaki's assembly details like the small coloured arrows that correspond to the glued on pieces so I don't mix up which is top and bottom. You can see empty brake with arrow indicators on the bottom while the top brake has extra pieces attached already. To result in a clean finish, I coloured in the arrows with black marker afterwards.
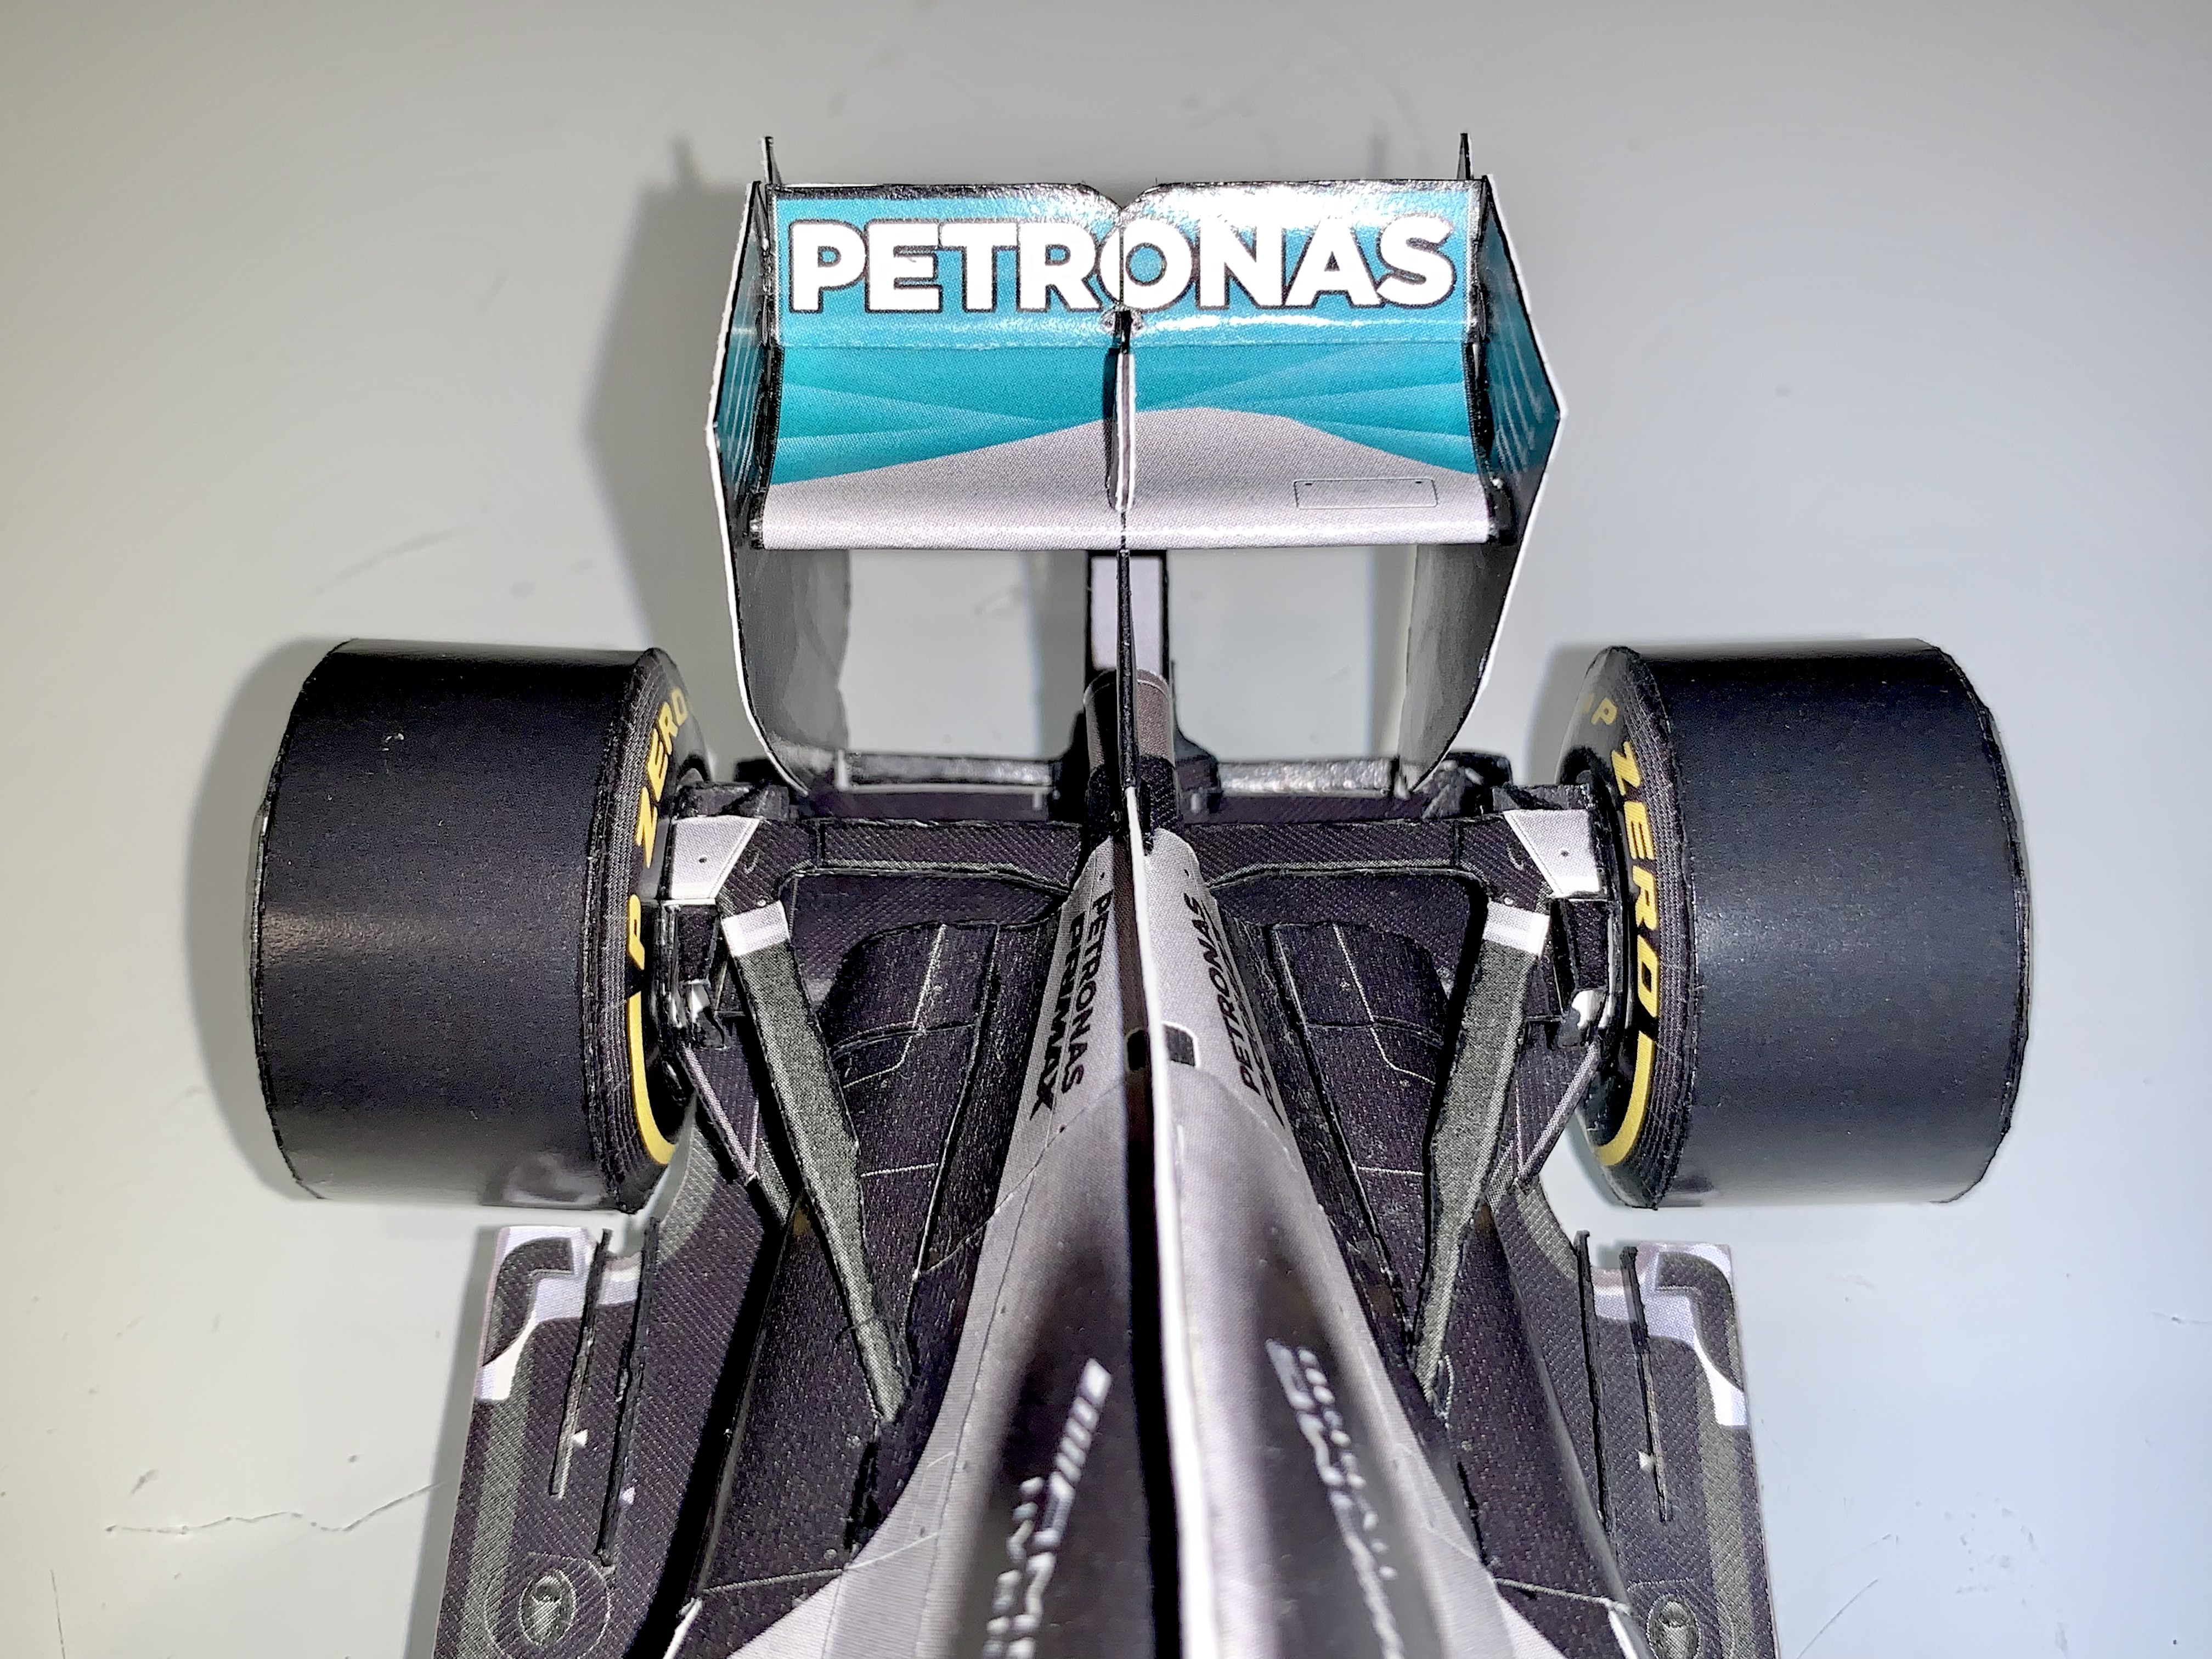
Day 16: Front suspension and rear wing
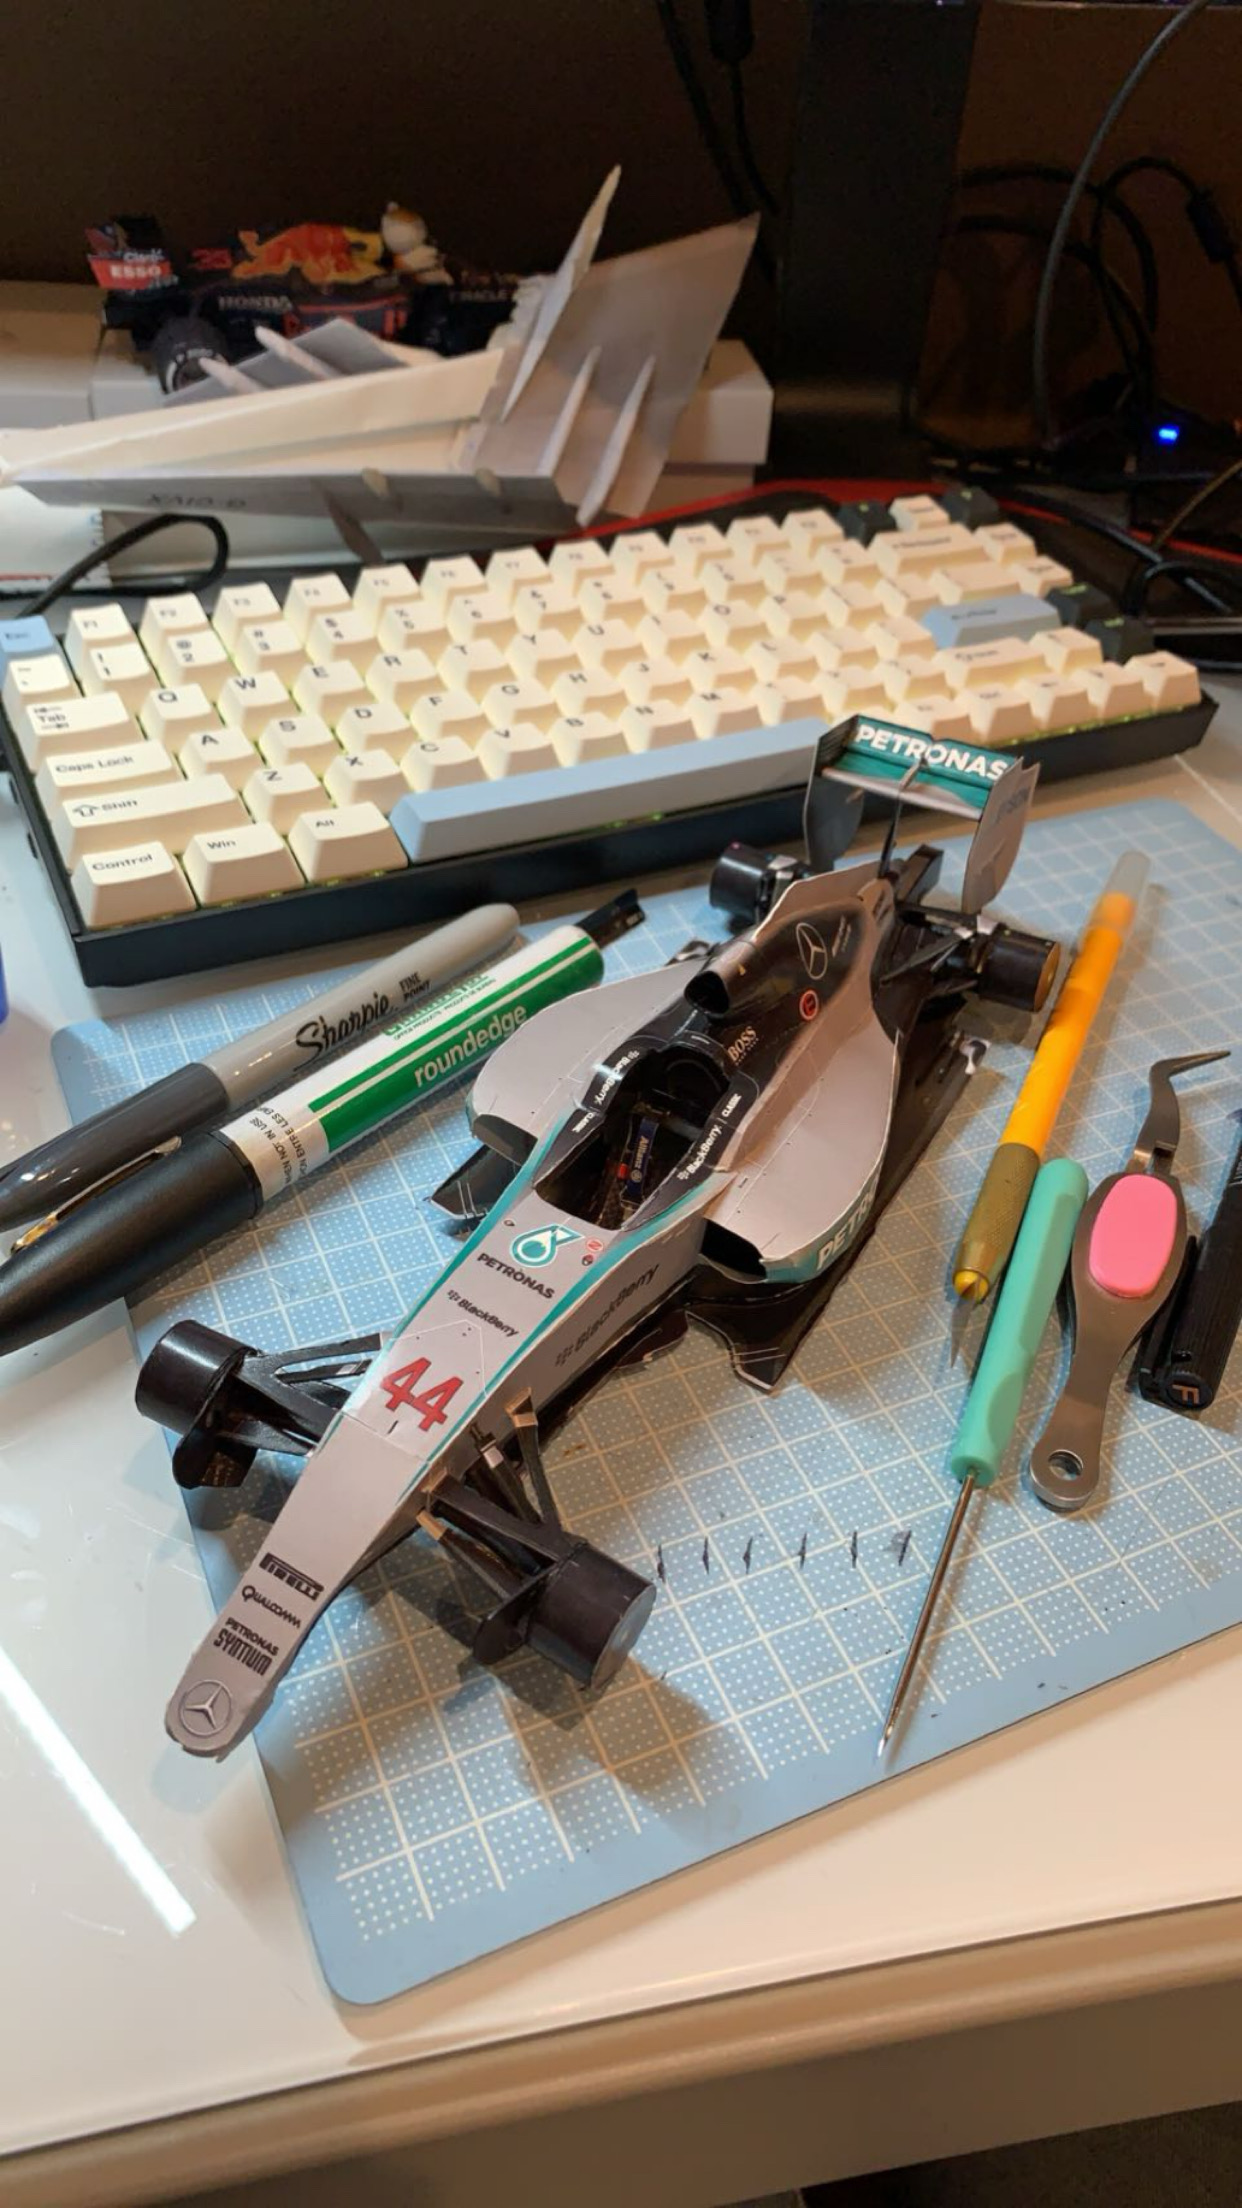
A lot of subcomponents I had previously built were attached today! The front suspension also work in a similar fashion to their rear counterparts. I'm really happy with how the car is coming together so far.
Day 17: Small details
Here, I added the baffles, more turning vanes, and side mirrors. The last few steps in this project were so tiny, I had to take many breaks to avoid getting carpel tunnel. I found it interesting that the mirrors are made of a single sheet of paper folded origami style while other parts like the brakes were like 283749273 pieces.
Day 18: Installing tires
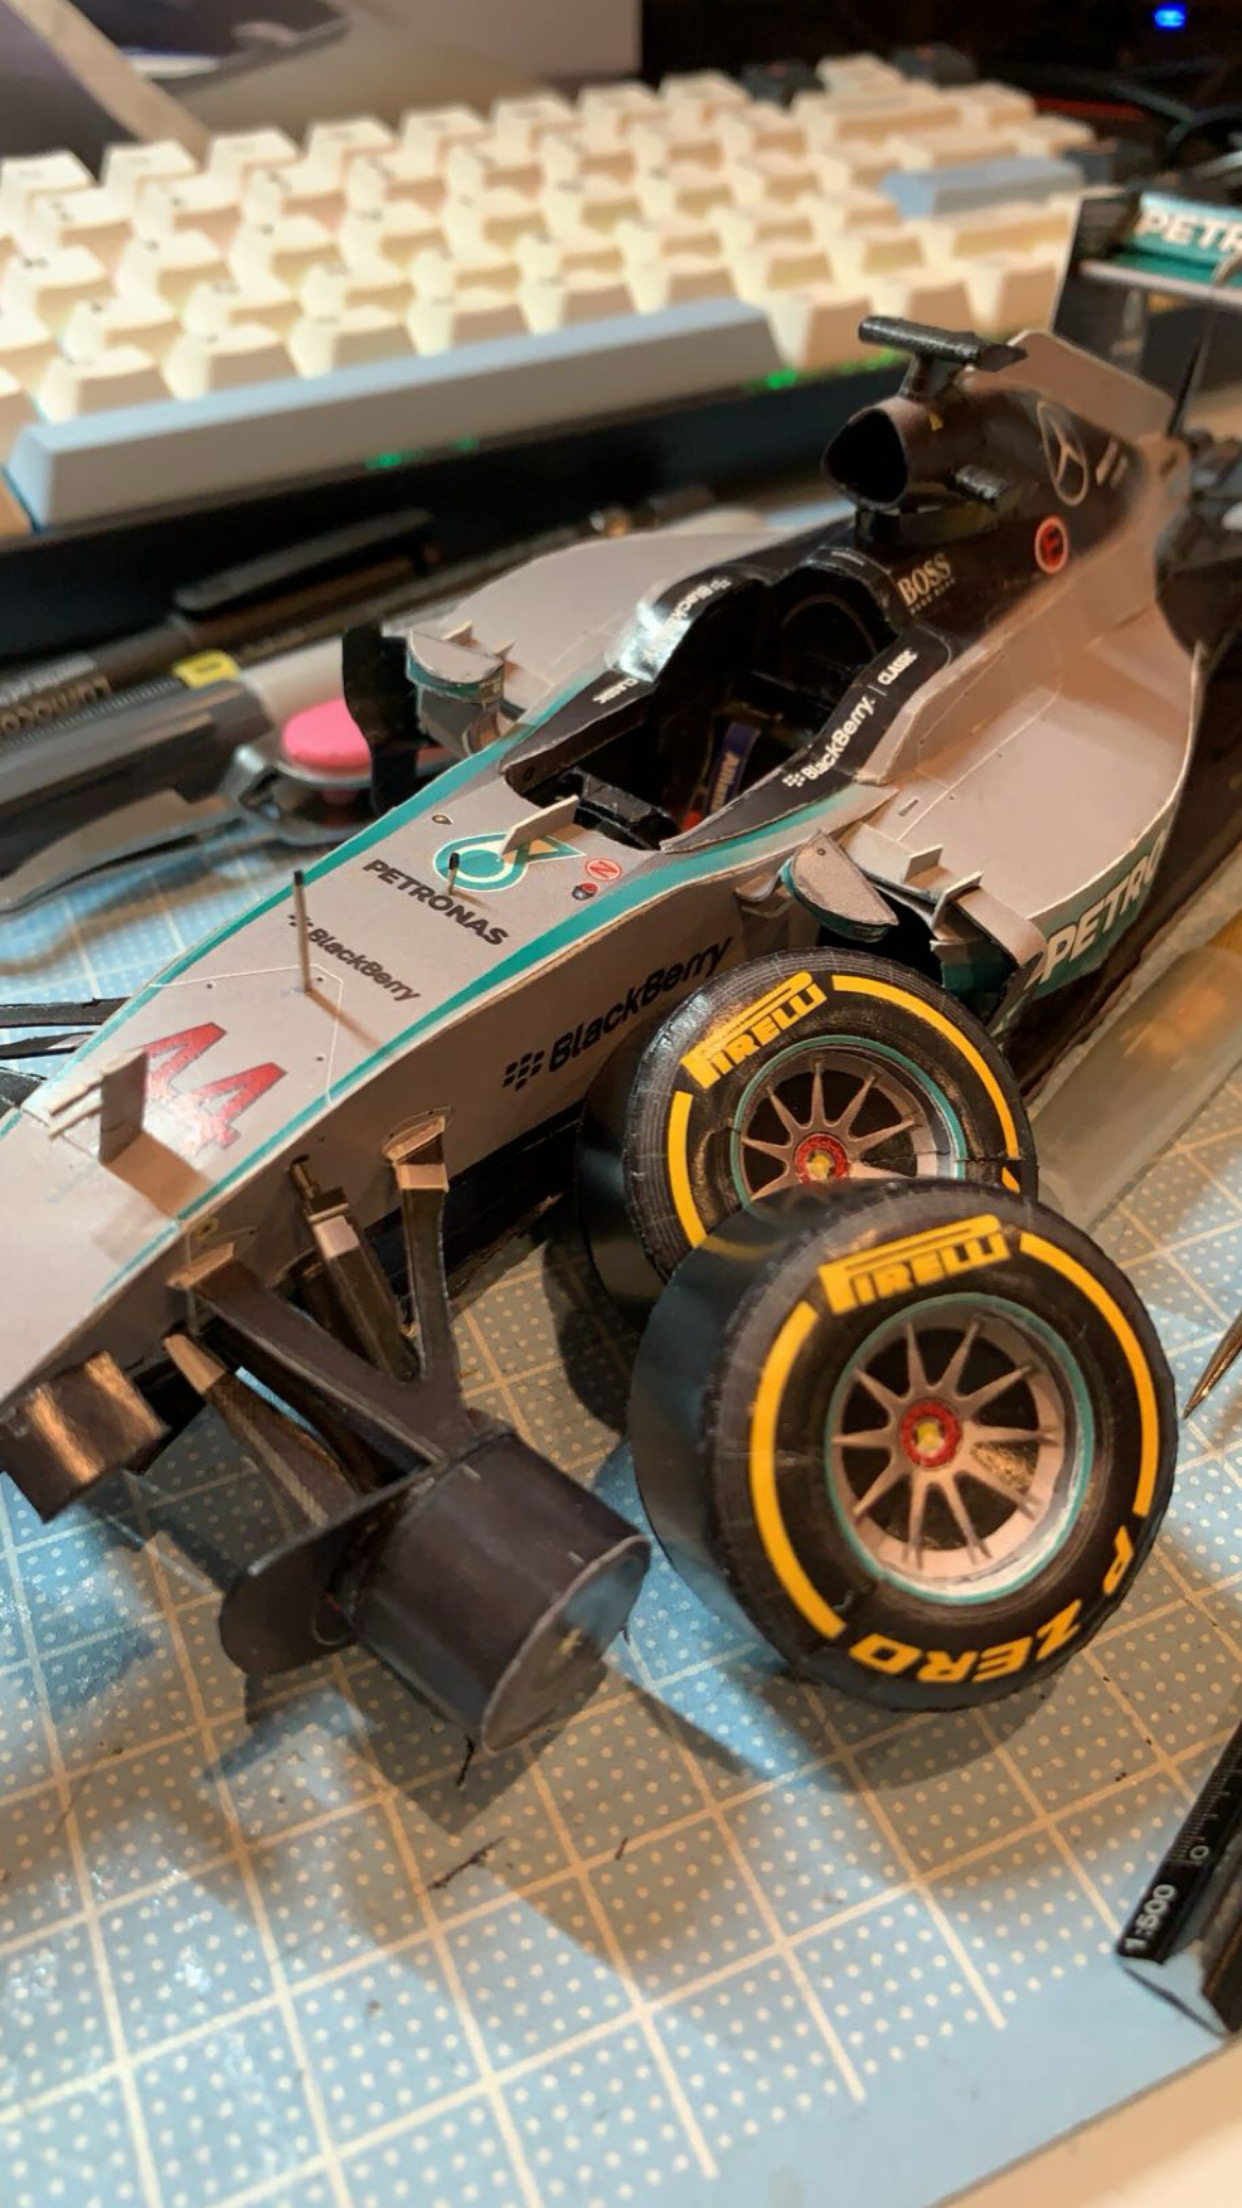
The tires of this car are actually much more complex than simple cylinders. Since they're puffy and round, the geometry was difficult to render in paper. I had to use the eraser at the end of a pencil to keep the tires from collapsing in on themselves. I also added in these tiny 1mm thick communication antennas and a mini steering wheel!
Here are some final detail shots of the completed car!
After trying out papercraft, some of my friends introduced me to Gunpla, which are plastic model kits depicting the fictional characters of the Gundam multiverse. Stay tuned to follow my transition from paper to plastic!